11 Jan 2021
Images on this page are low resolution to save bandwidth, click them for full size versionsIf you've been in the 3D printing community for any amount of time you've no doubt heard about the Lack enclosure. Being easy to build and having good aesthetics makes it the obvious choice for anyone looking to upgrade from an upside down cardboard box.
...or is it? There's one massive flaw with the classic Lack enclosure: if your printer is tall you can't put anything on top it. Because the spool holder sits on top of the enclosure, you need to get creative if you have multiple printers you want to stack up. I decided to fix this problem by adding the legs of one table to another to make a double height Lack table. It's surprisingly stable as far as fiberboard tables go.
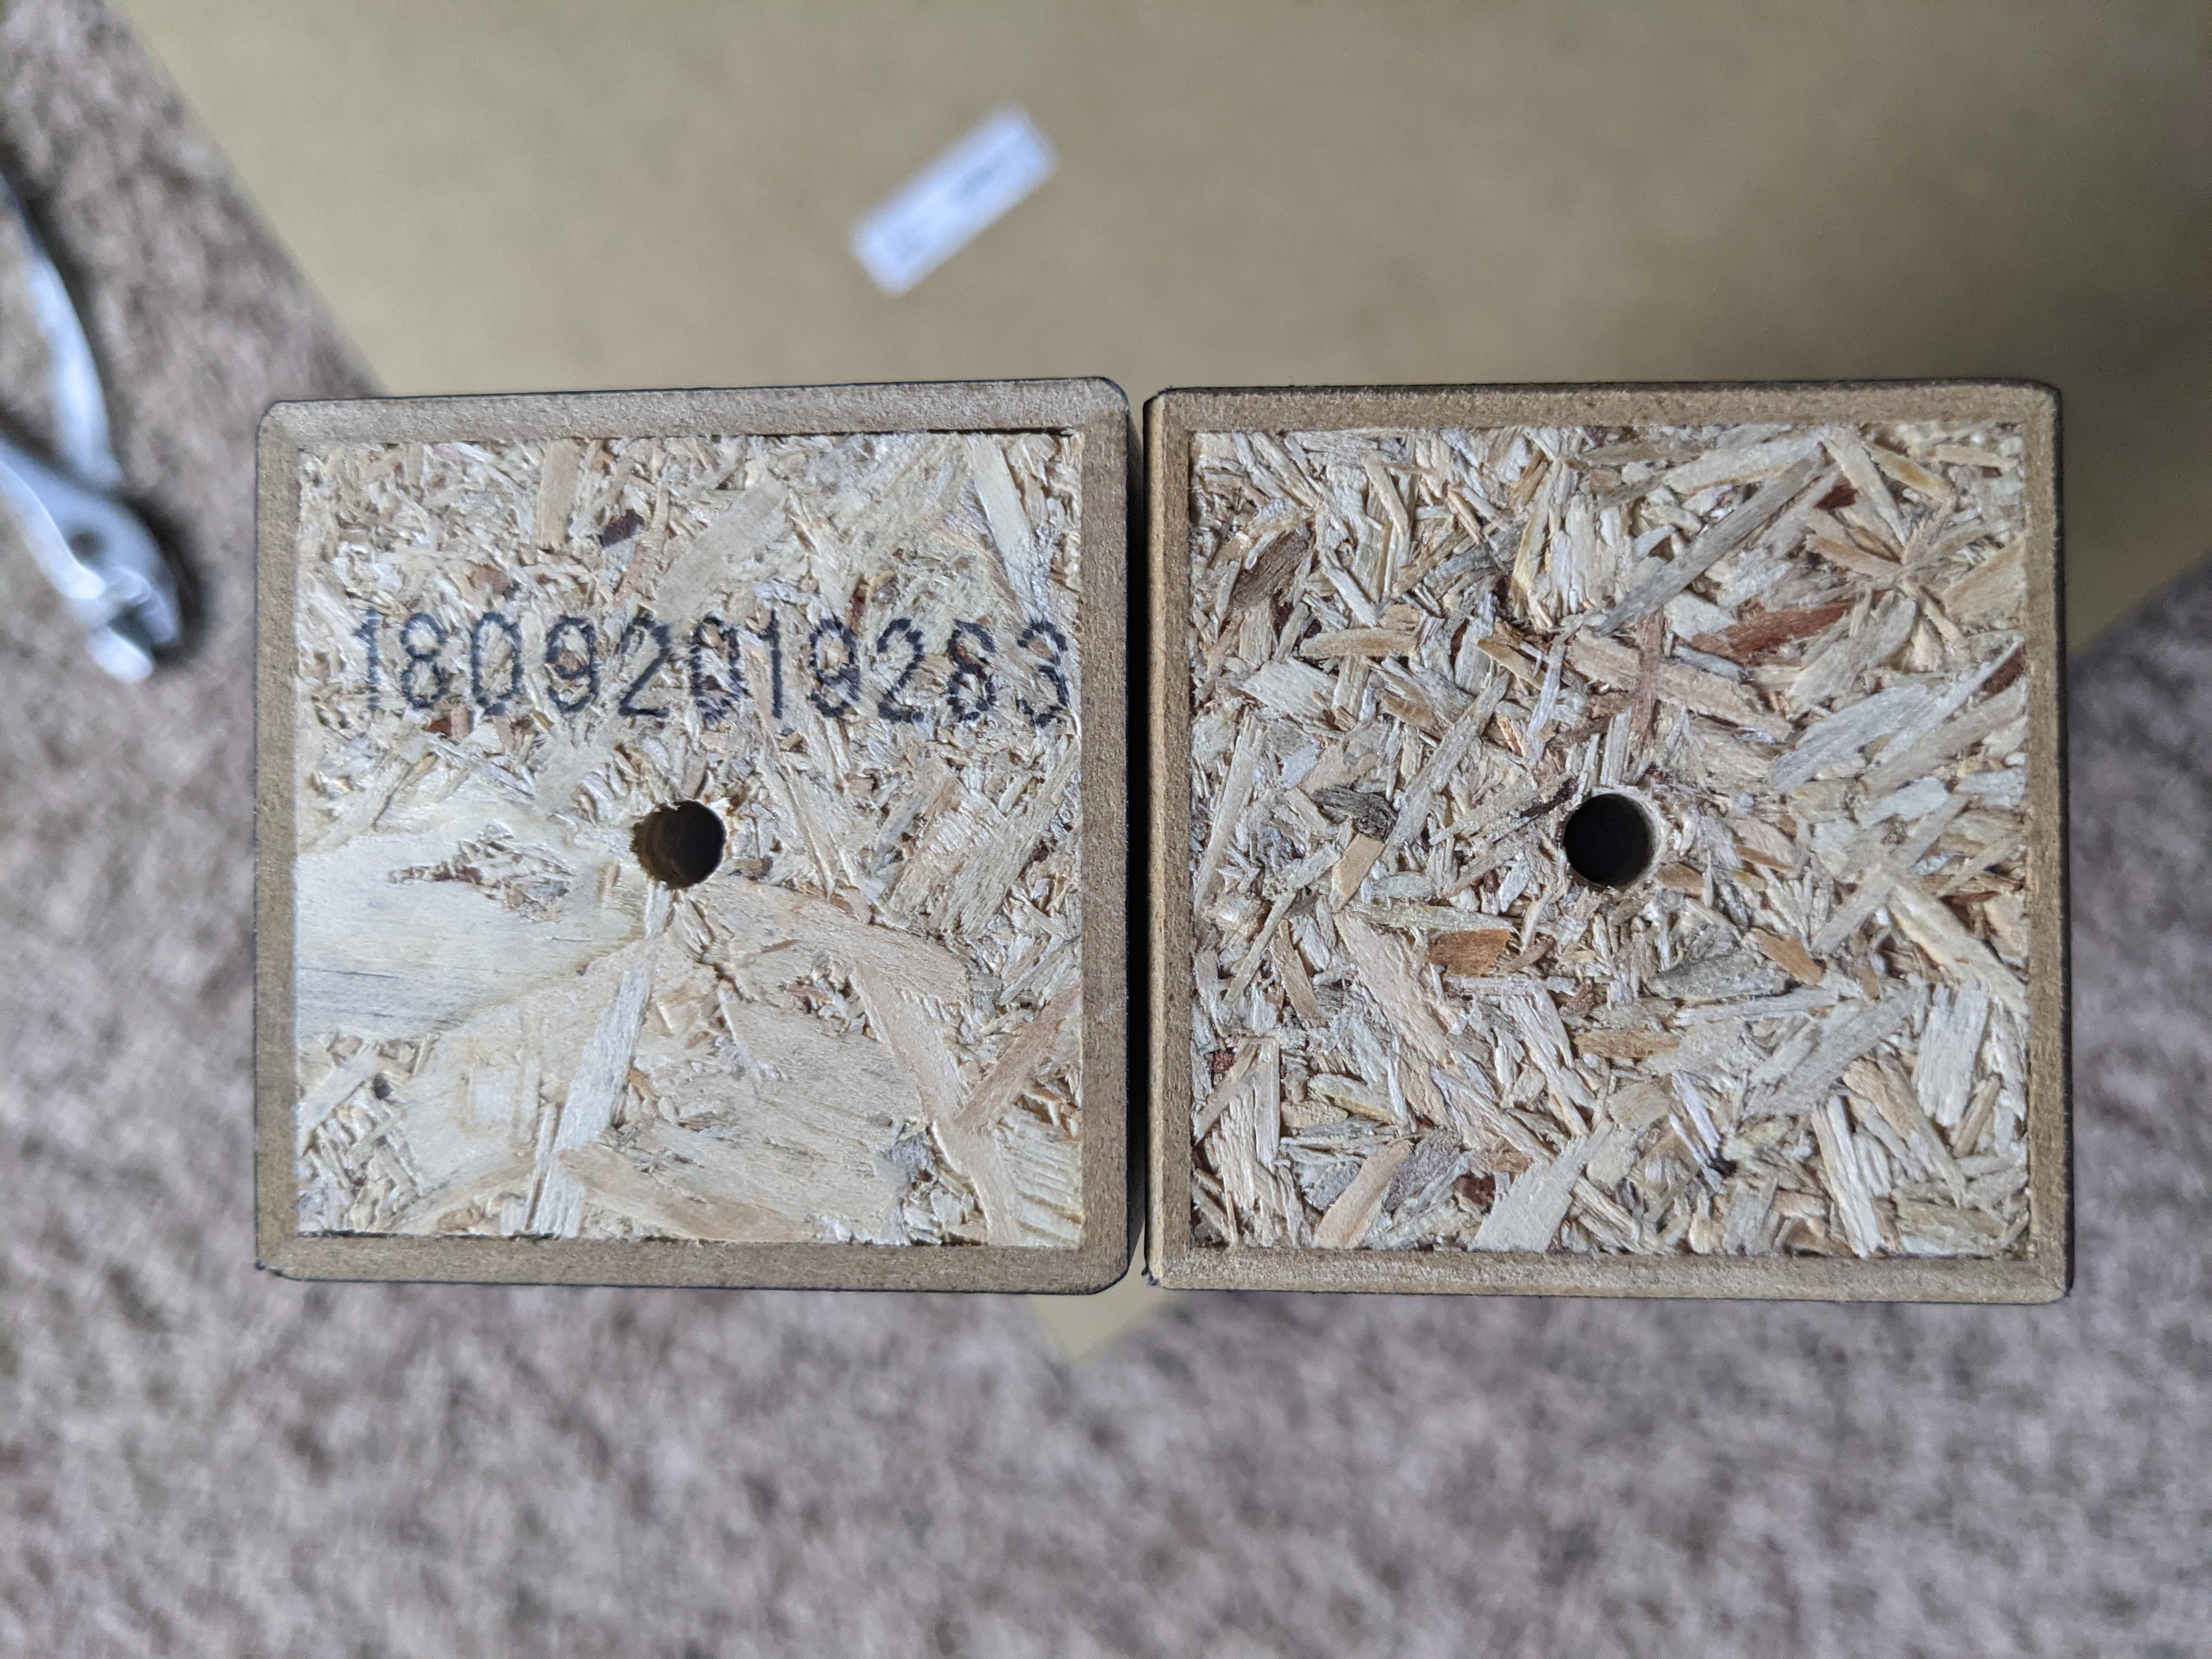
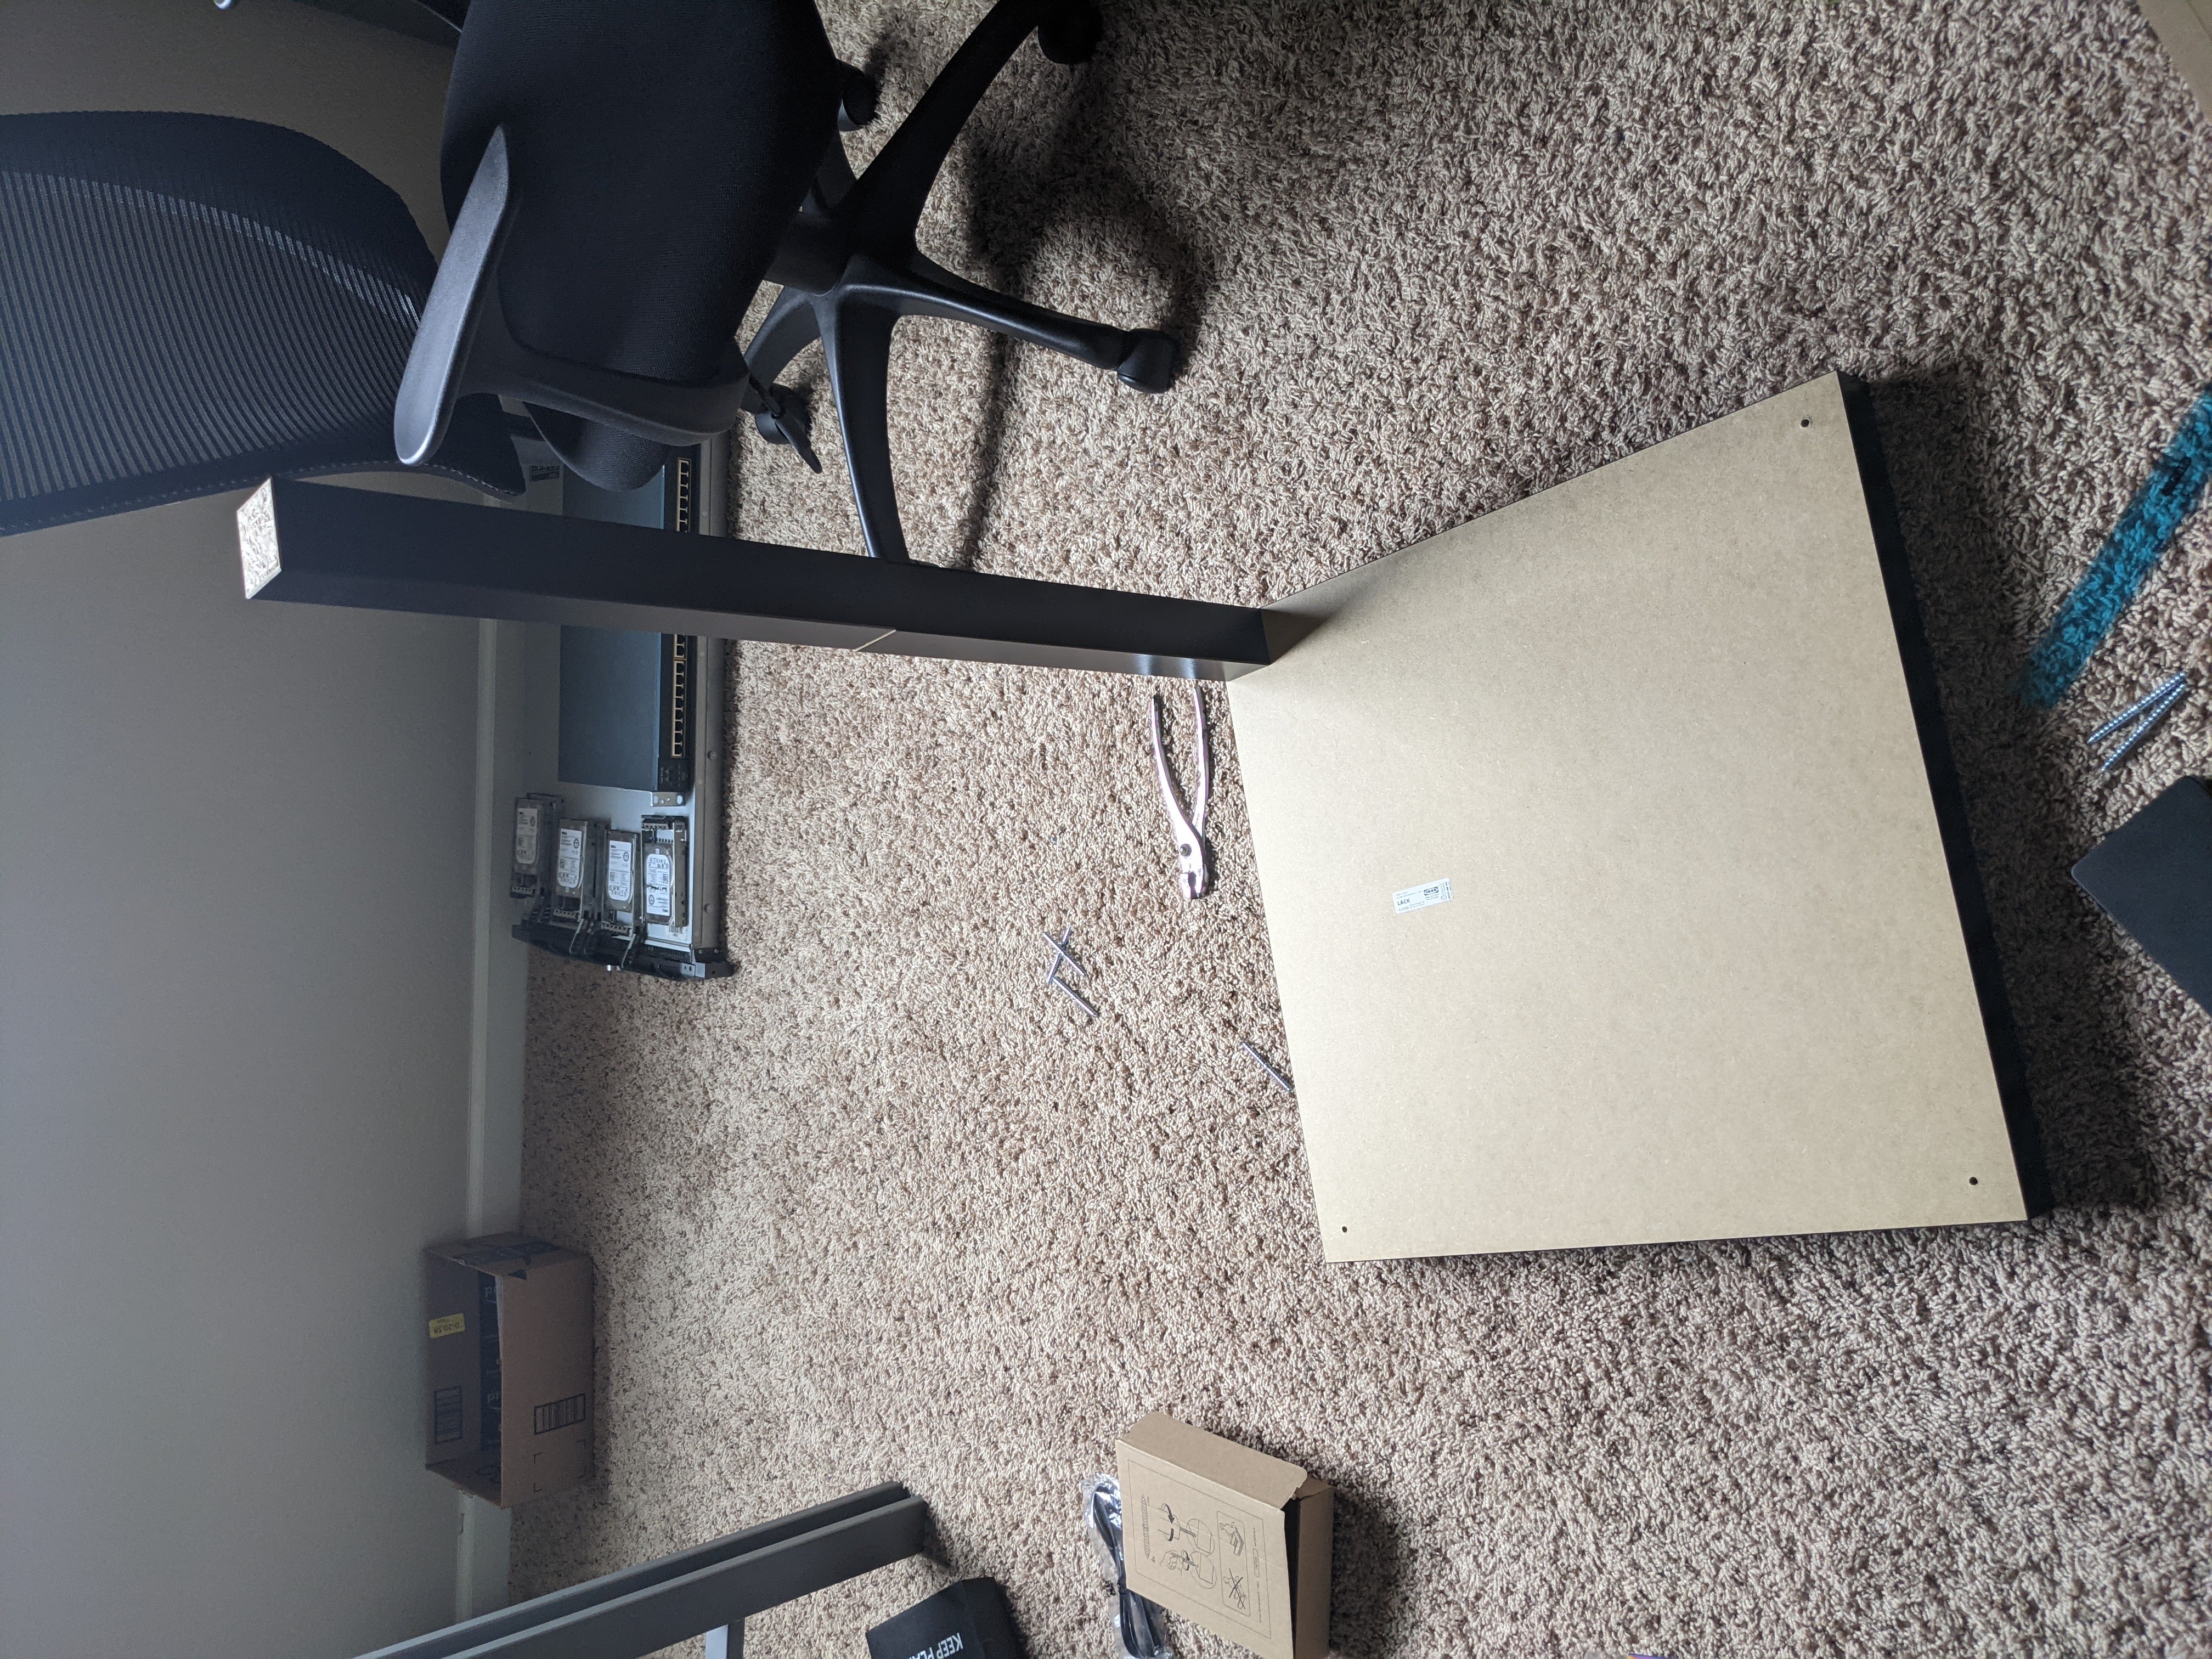
To attach the legs to each other I had to drill holes in the bottom of one set of them. I actually don't remember which hole I drilled and which one was predrilled in this picture but I think it was the bottom one that I drilled. This was the best one I did, the rest were anything from a little worse to much, much worse. One of the holes is too big for the screw even. That's okay though because gravity exists and I took advantage of it multiple times in this project.
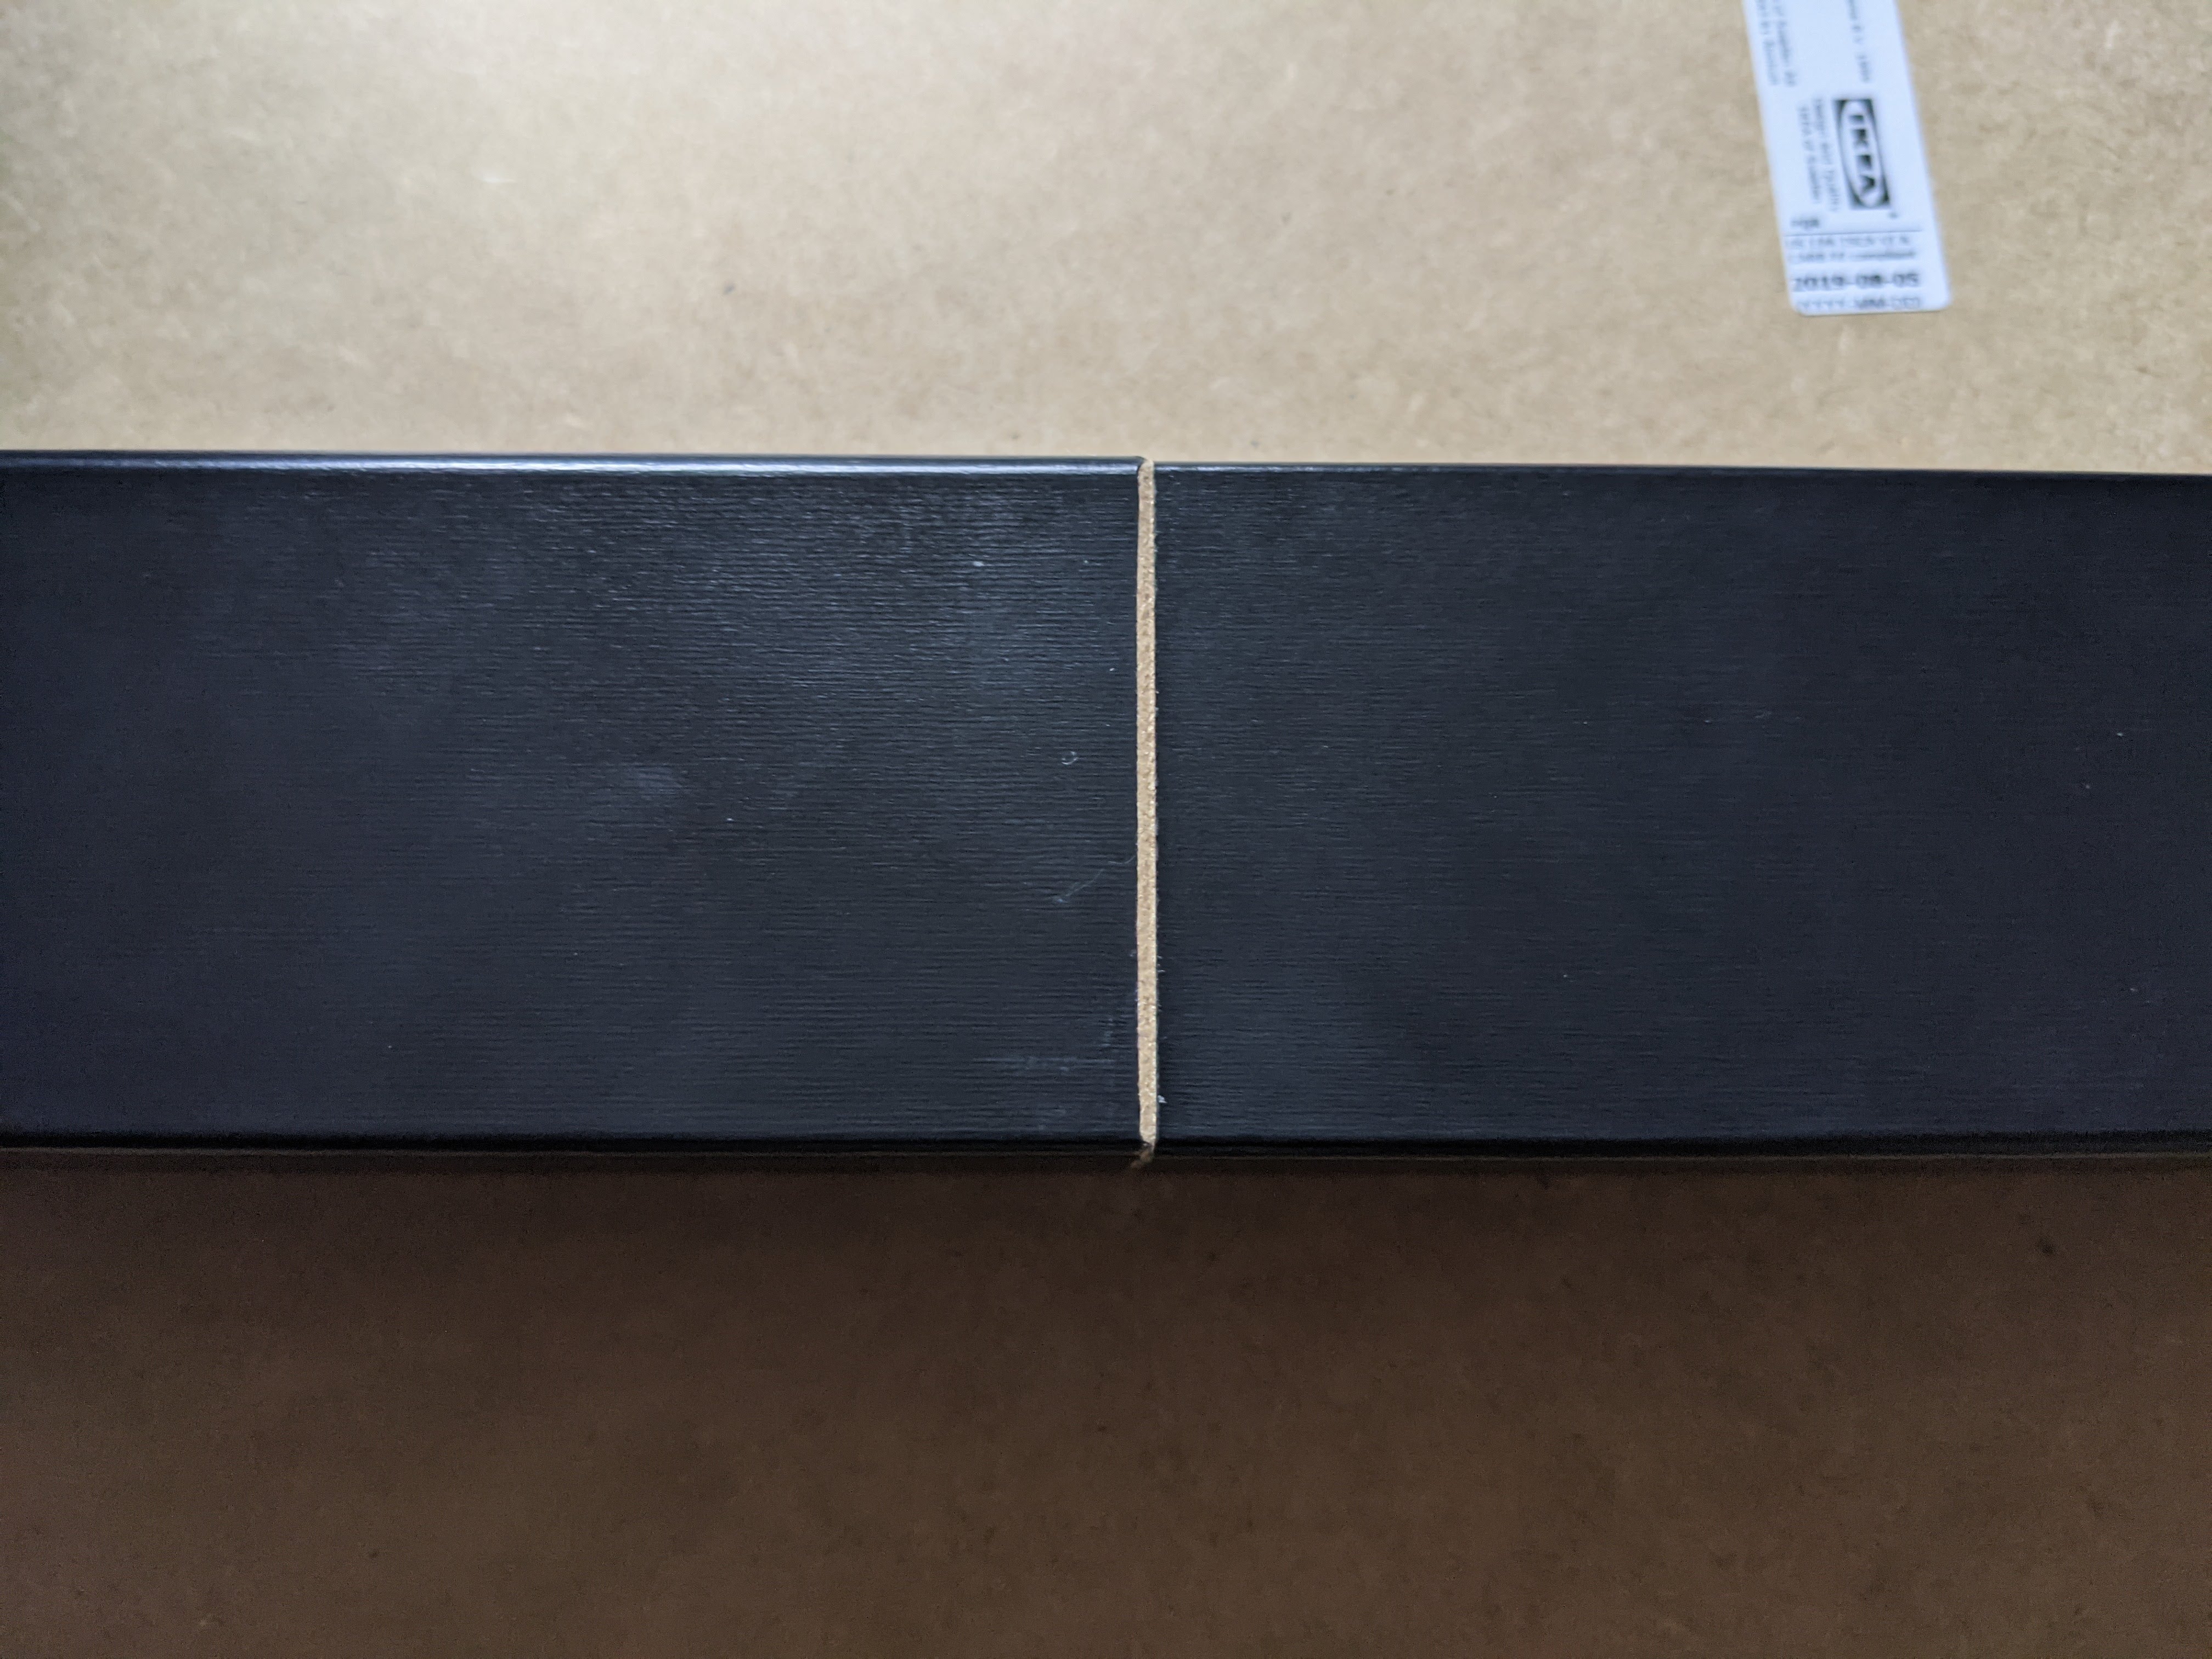
Getting the legs together wasn't too hard, I just needed to make sure they were straight. I used the bottom side of the tabletop to help me with that. Using the screws that came with the tables worked well enough, I wouldn't go out and get different screws unless you absolutely need to. Ikea put a small chamfer on the bottom of the legs so there's a little bit of wood color showing between them. Personally I don't care but you could probably use a sharpie or furniture repair marker to hide the seam.

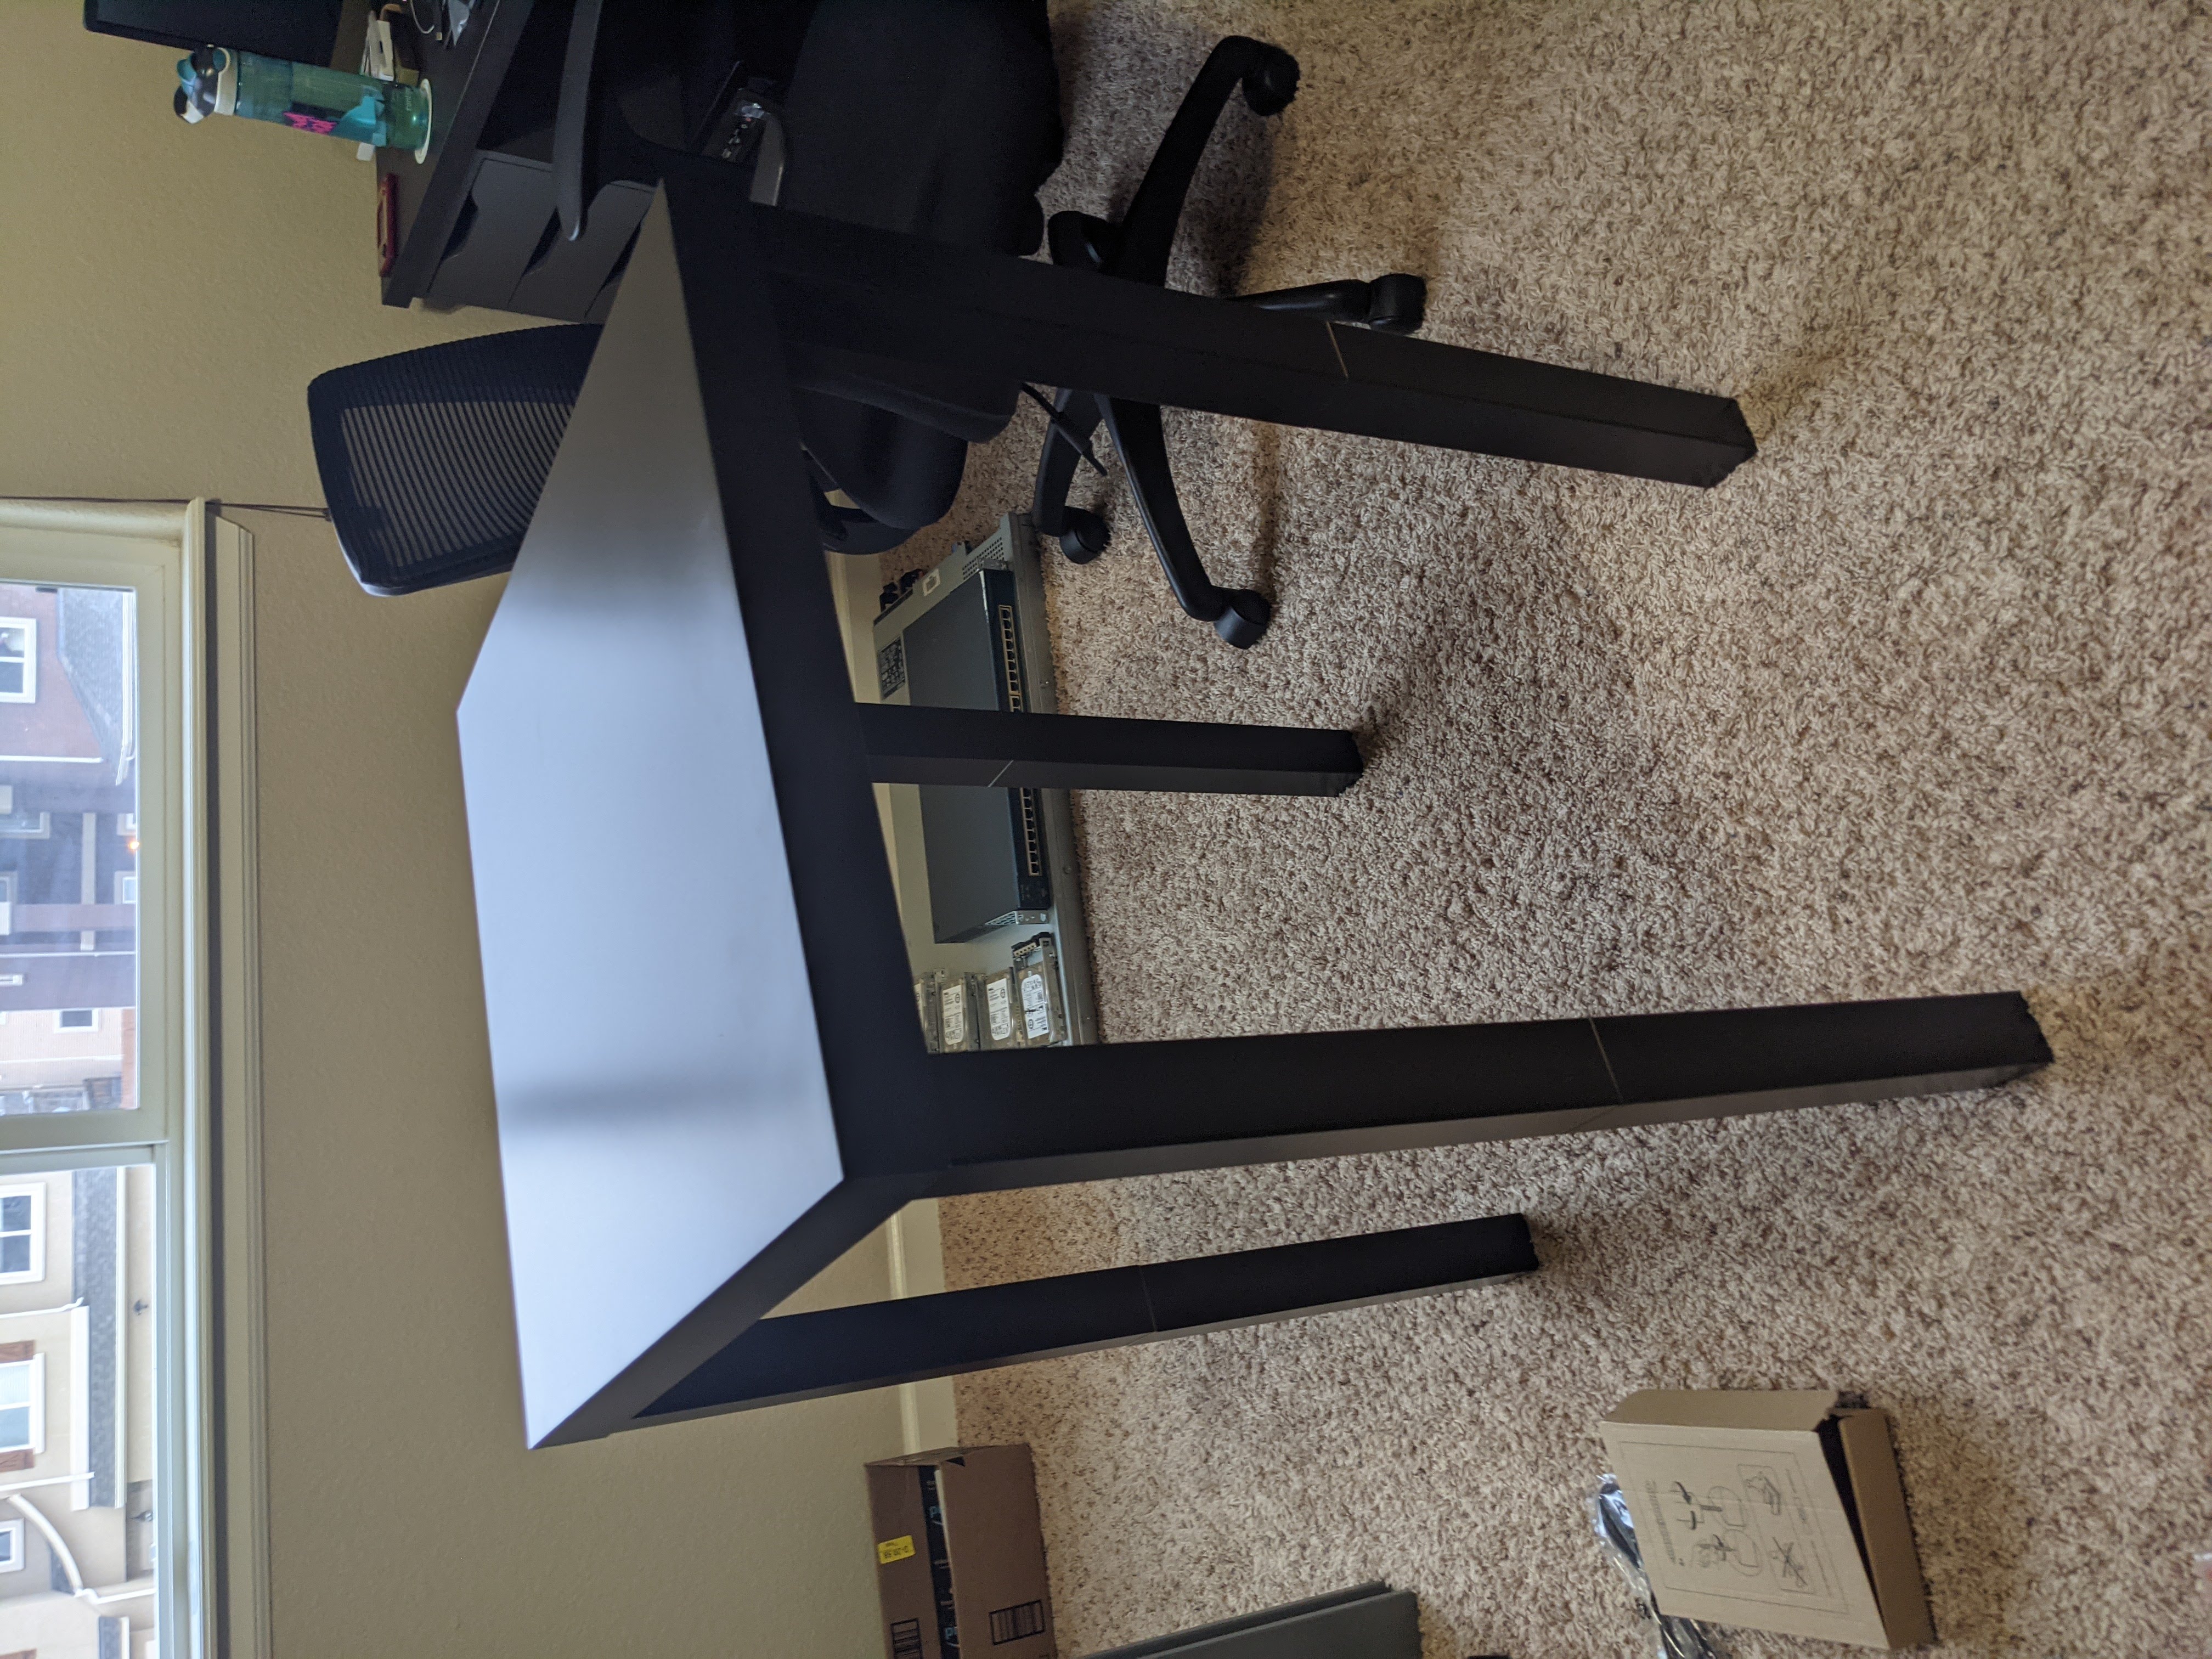
Putting the legs on wasn't too hard, I just needed to be extra careful not to screw them in at an angle. They're still a little bit off but it's not a huge deal since the footprint is still about the same size as an unmodified Lack.
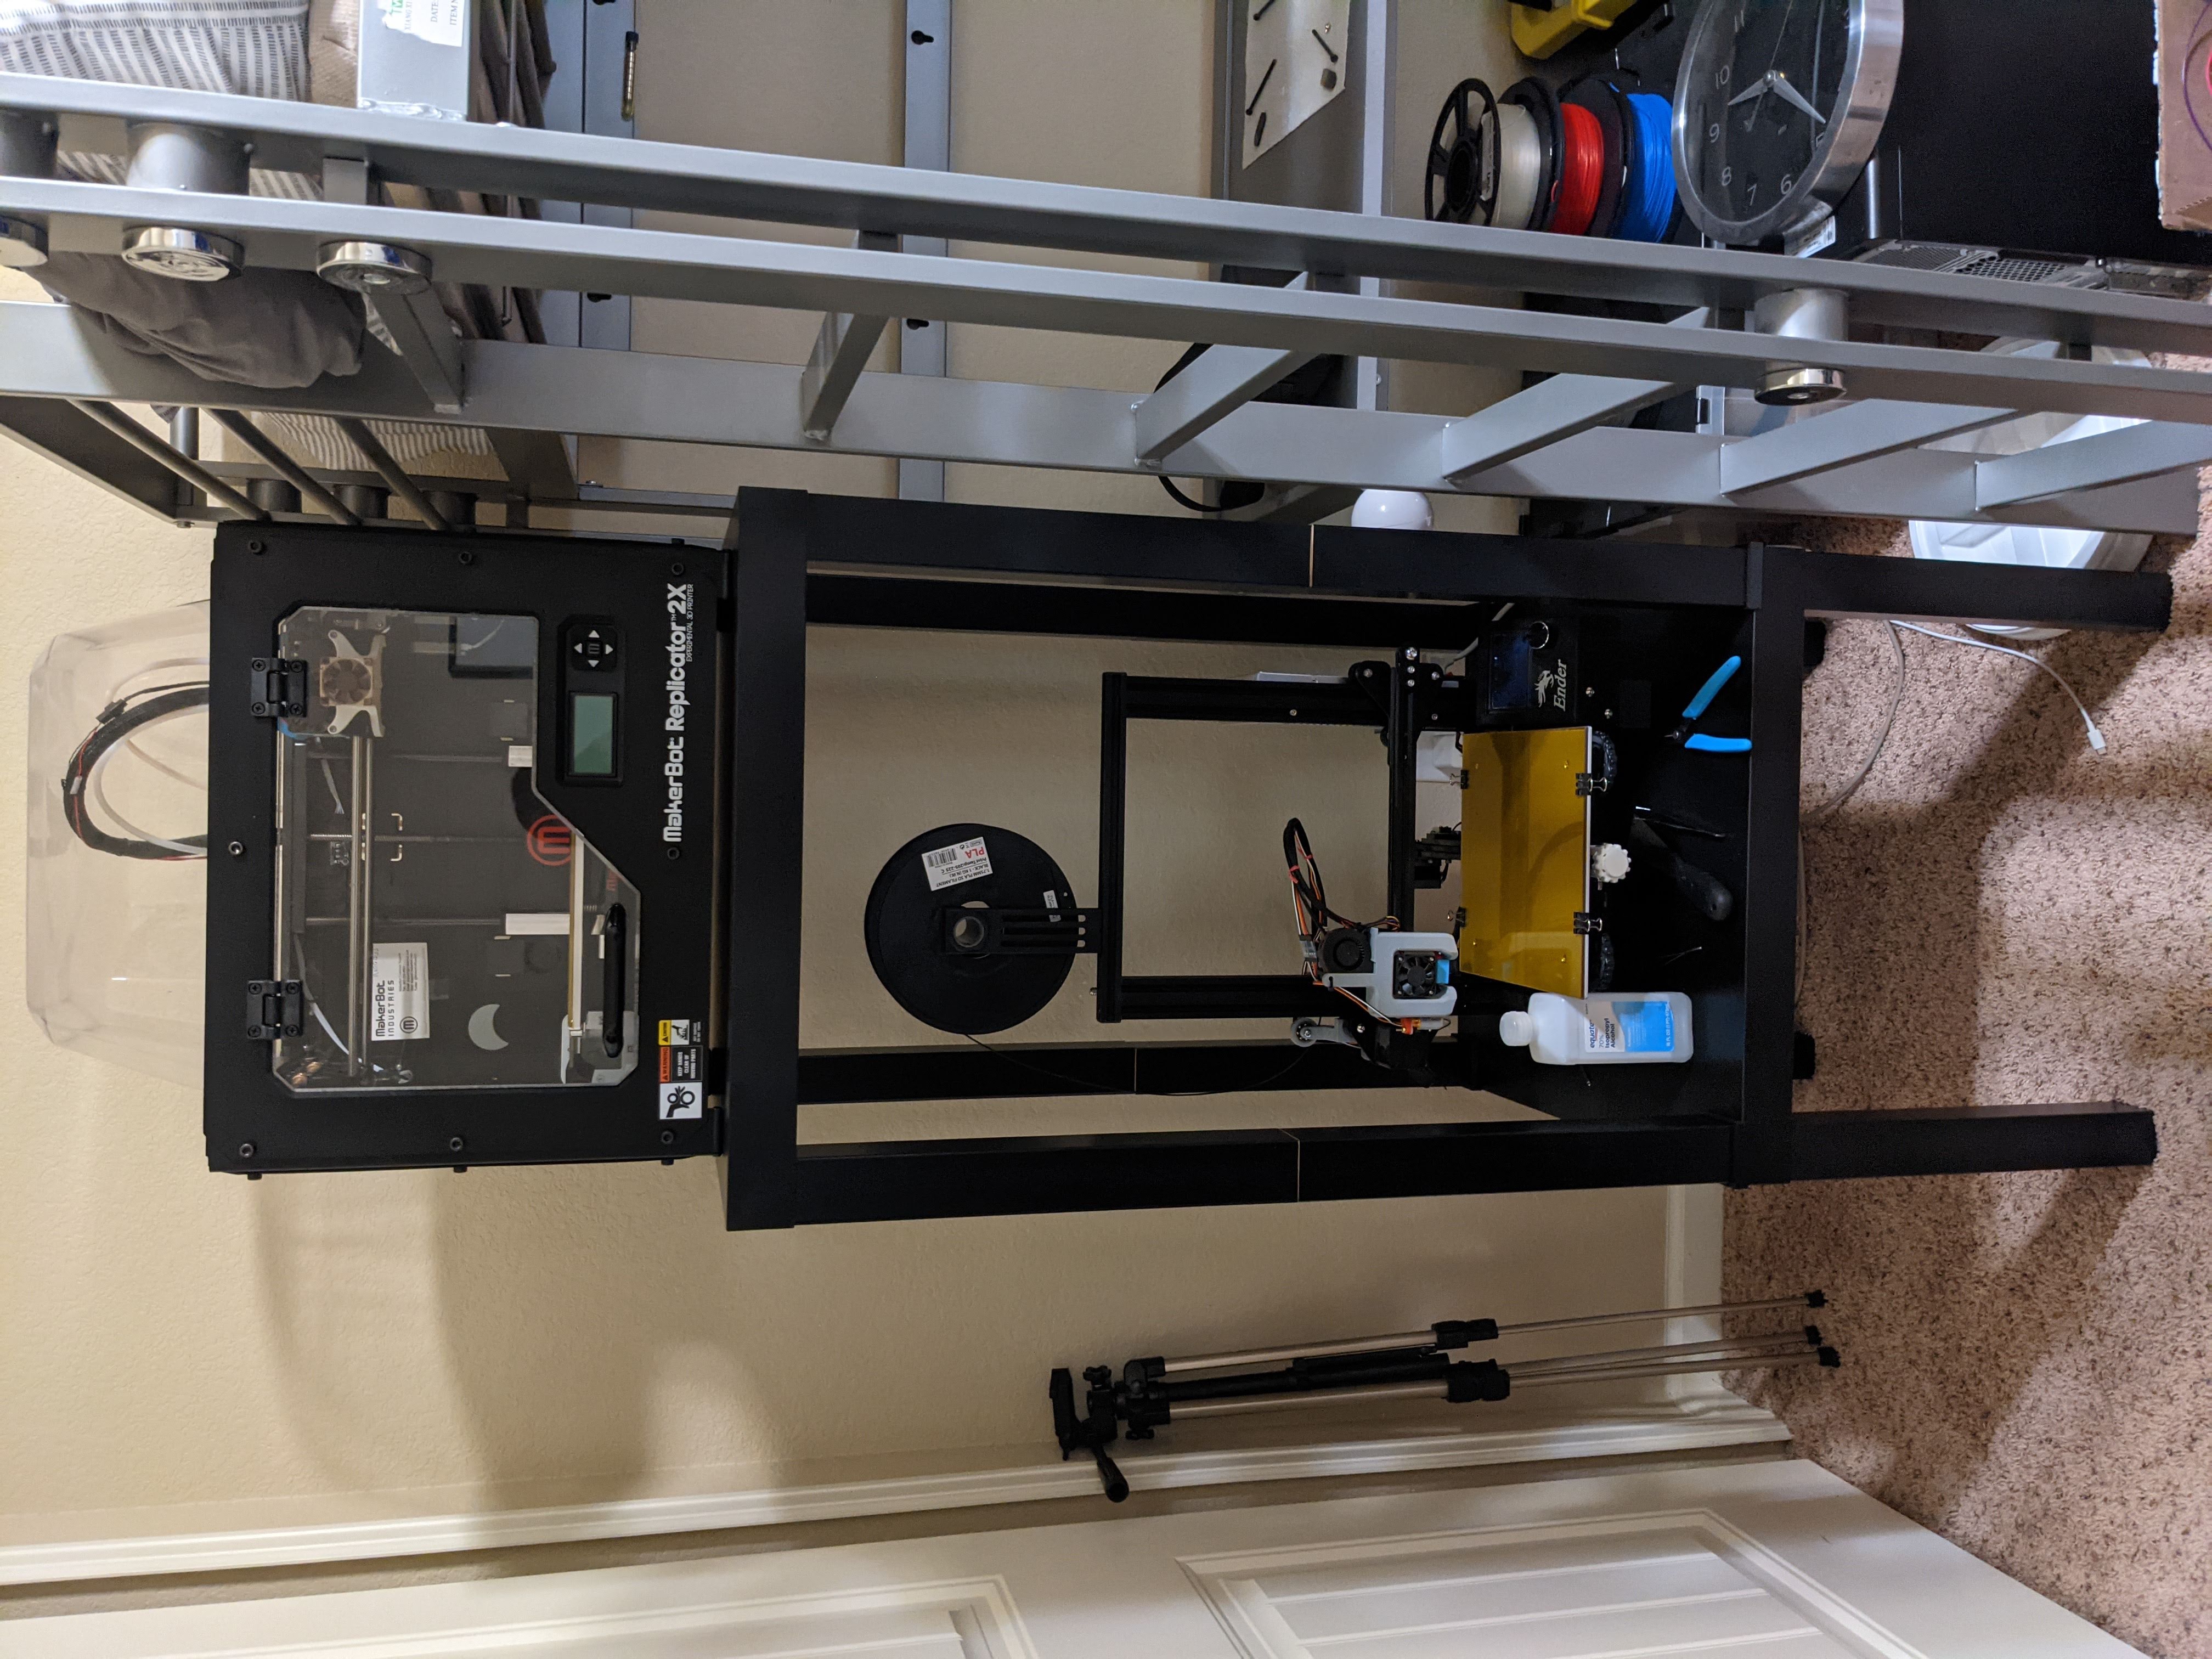
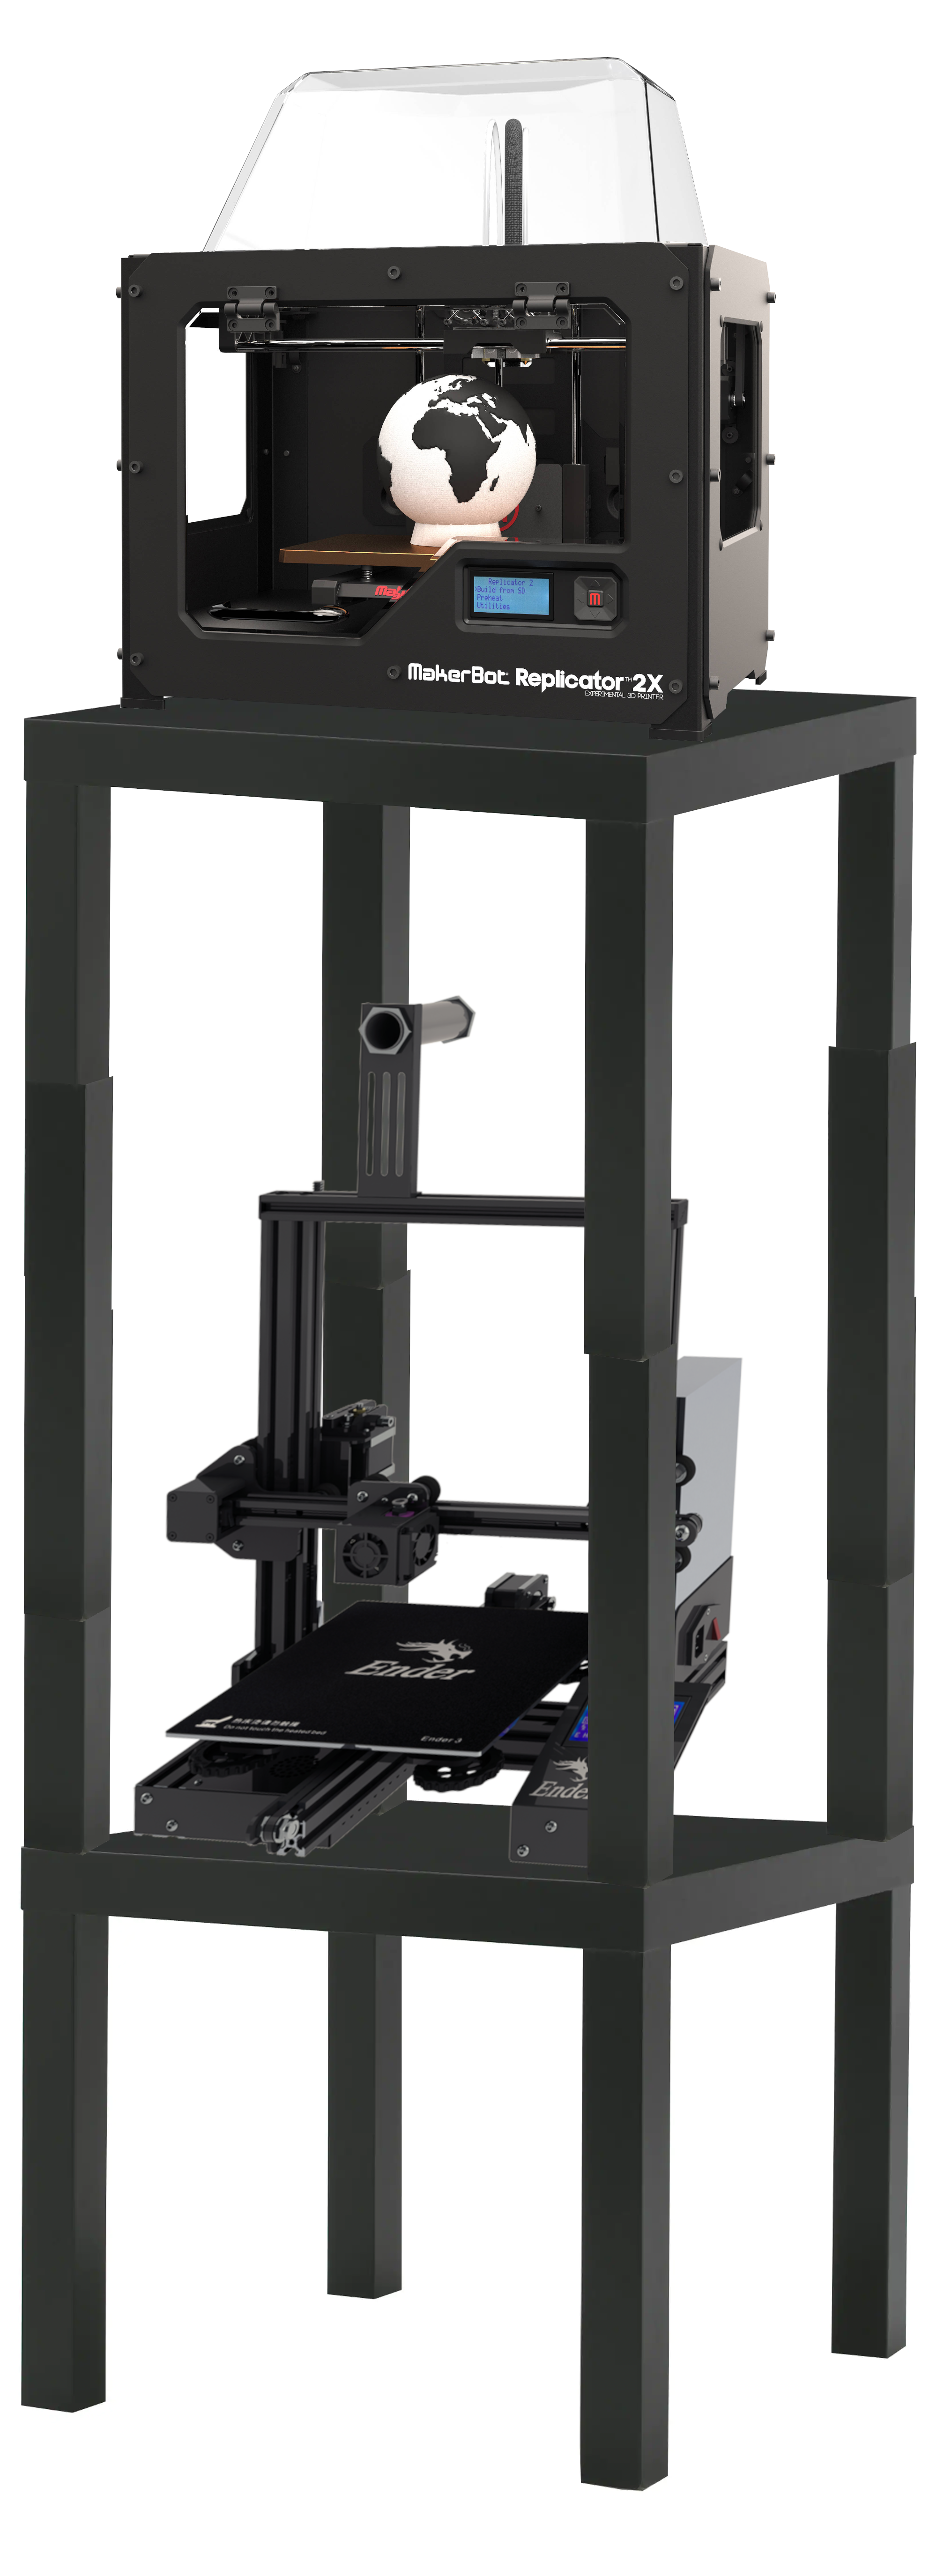
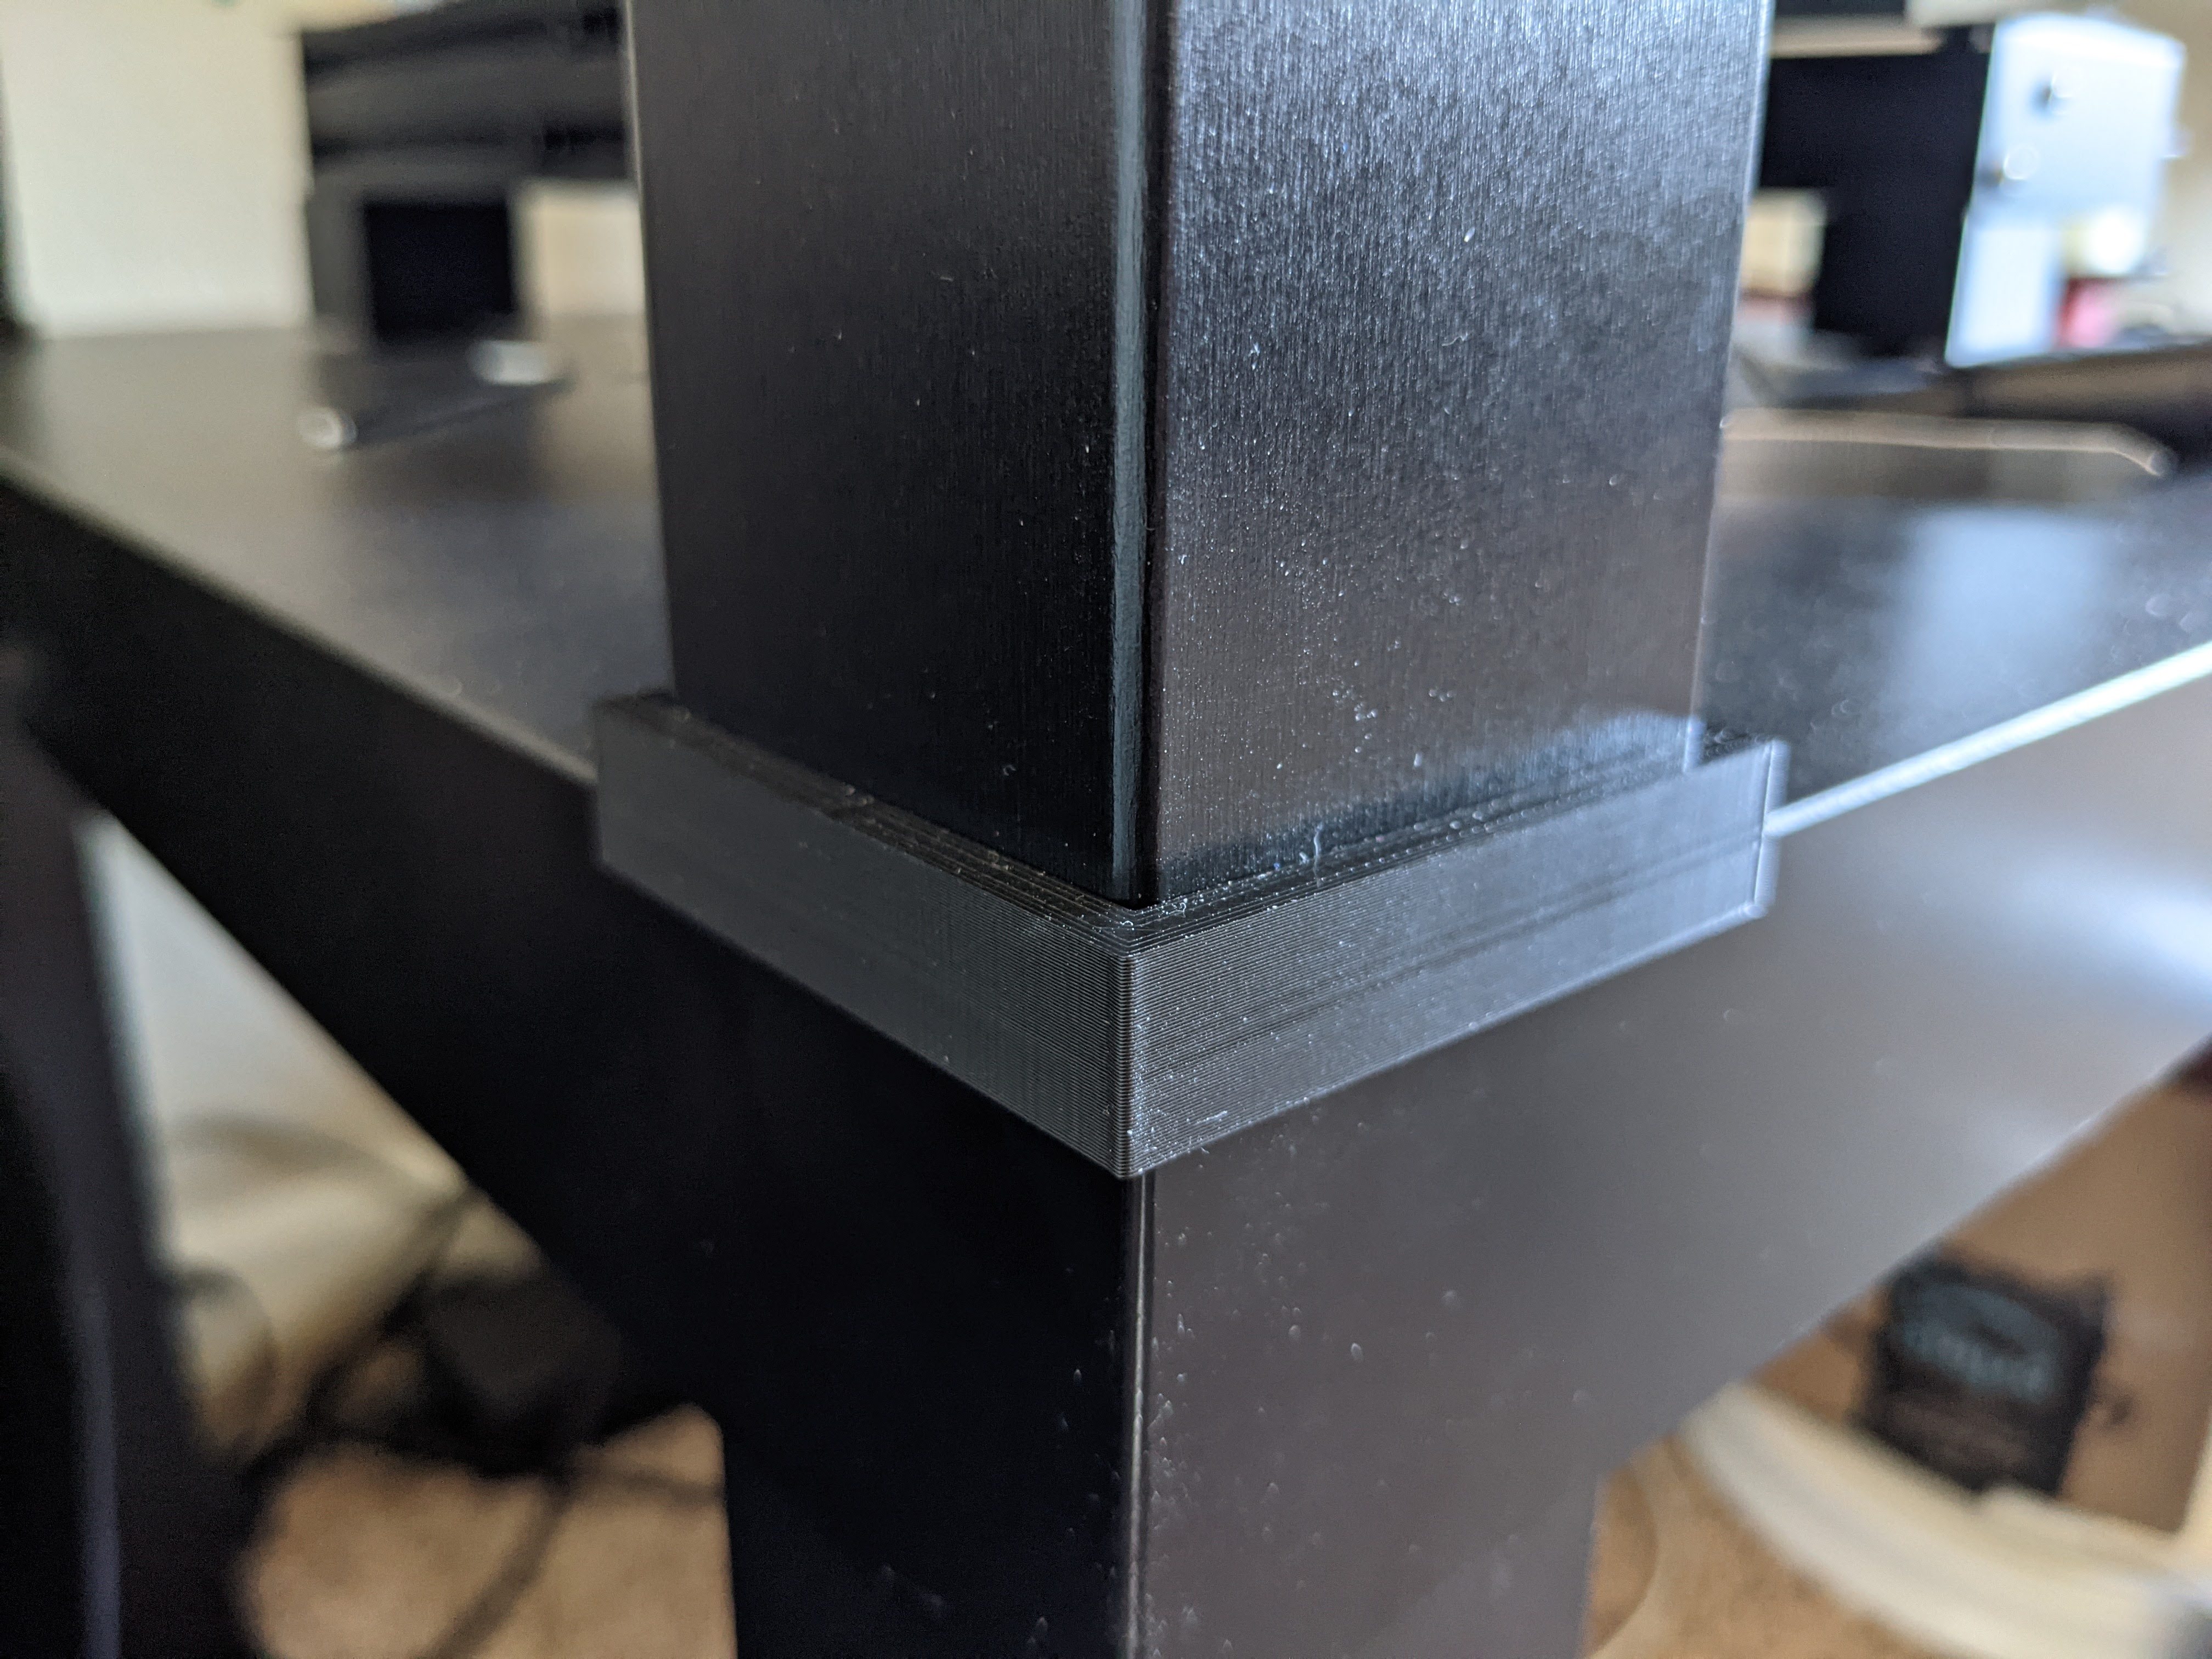
The original plan was to add this double height Lack on top of a regular Lack so I could put my Replicator 2X above my Ender 3. Putting the double tall Lack on top of my existing Lack was pretty easy aside from keeping that stripped leg from falling apart. Because the legs aren't perfectly straight they don't sit perfectly on the corners of the table. Fortunately the issue was mostly that the legs were too far inward so I was able to modify a model from Thingiverse and print some leg brackets. I uploaded my version of the model to Thingiverse as a remix if you're interested. Two of the legs do still want to move outward a little but the weight of the Replicator 2X keeps them in place if I push them in. Adding rubber feet might improve things or make them worse, I'm not entirely sure. I'm not going to bother with them.
And there you have it, the completed Lack Stack. I might look into enclosing this in the future but for now it serves its purpose as a home for my printers. I haven't run both printers at the same time yet so I don't know how much it shakes around. If it's a problem I plan to put angle iron or something up the entire height of the stack to stiffen it. I think it came out great compared to the 5 minute terrible Photoshop mockup I made before starting the project.