How to set up UniFi Protect cameras in Home Assistant
A step by step guide to adding UniFi Protect Cameras to Home Assistant
25 Jun 2021
Images on this page are low resolution to save bandwidth, click them for full size versions
First things first, I want to clarify that this guide is for UniFi Protect, not UniFi Video. If you're looking for a guide to help with UniFi Video, I'm sorry. On the bright side, I think you should be able to just use the UniFi Video integration. For this guide I'll be using a UniFi Dream Machine Pro running firmware 1.9.3 and UniFi Protect 1.18.1 and UniFi Video Camera G3 Bullet cameras running firmware 4.38.1. This guide should continue to work on newer firmware versions but I provide no guarantees because I am not Ubiquiti. If an update eventually breaks this guide I encourage you to let me know so I can put a warning here somewhere. That all said, the process is fairly simple:
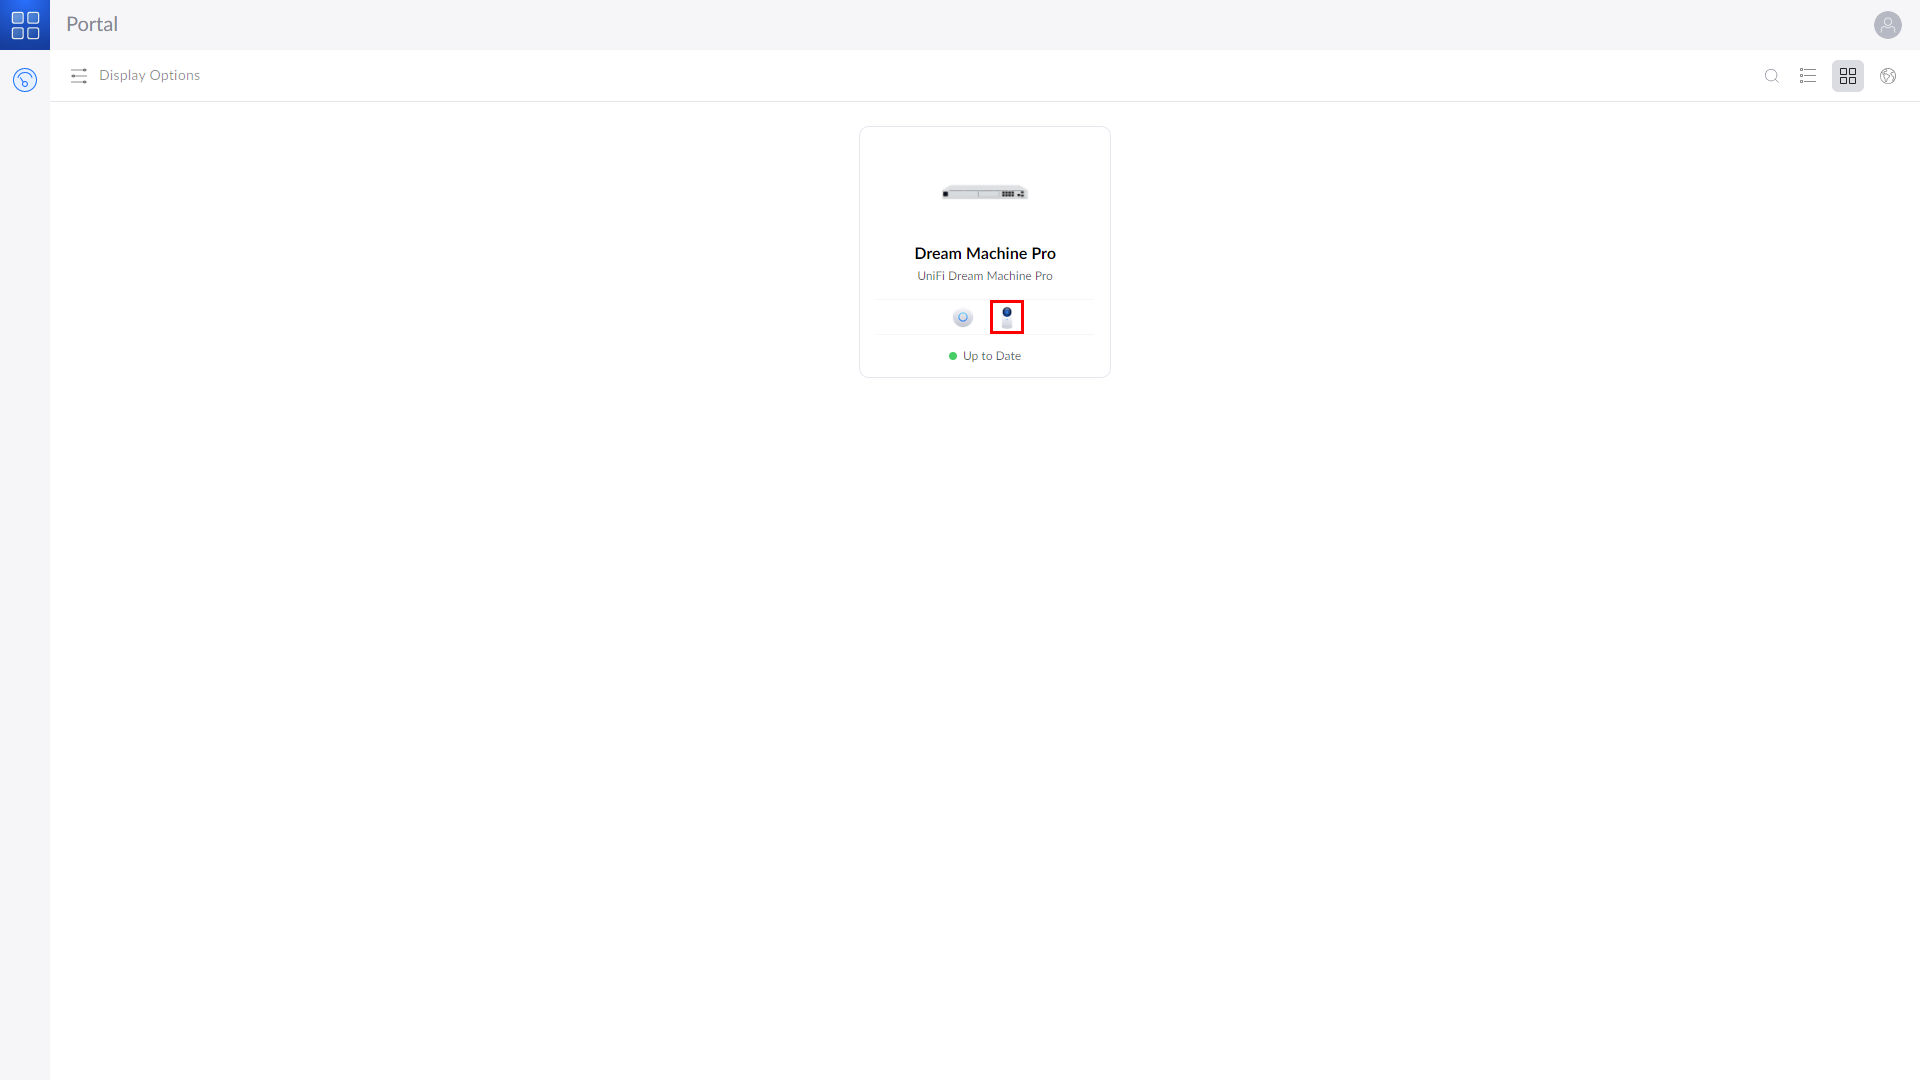
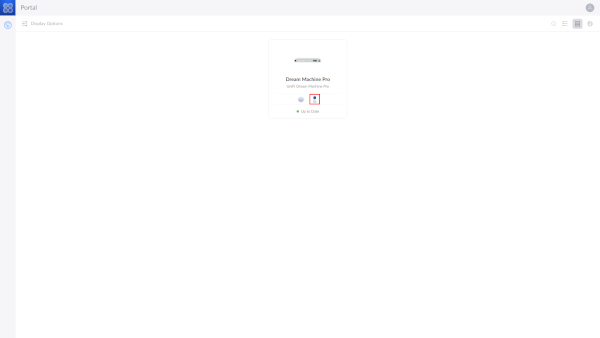
- Sign into your UniFi portal at https://unifi.ui.com then open Protect.
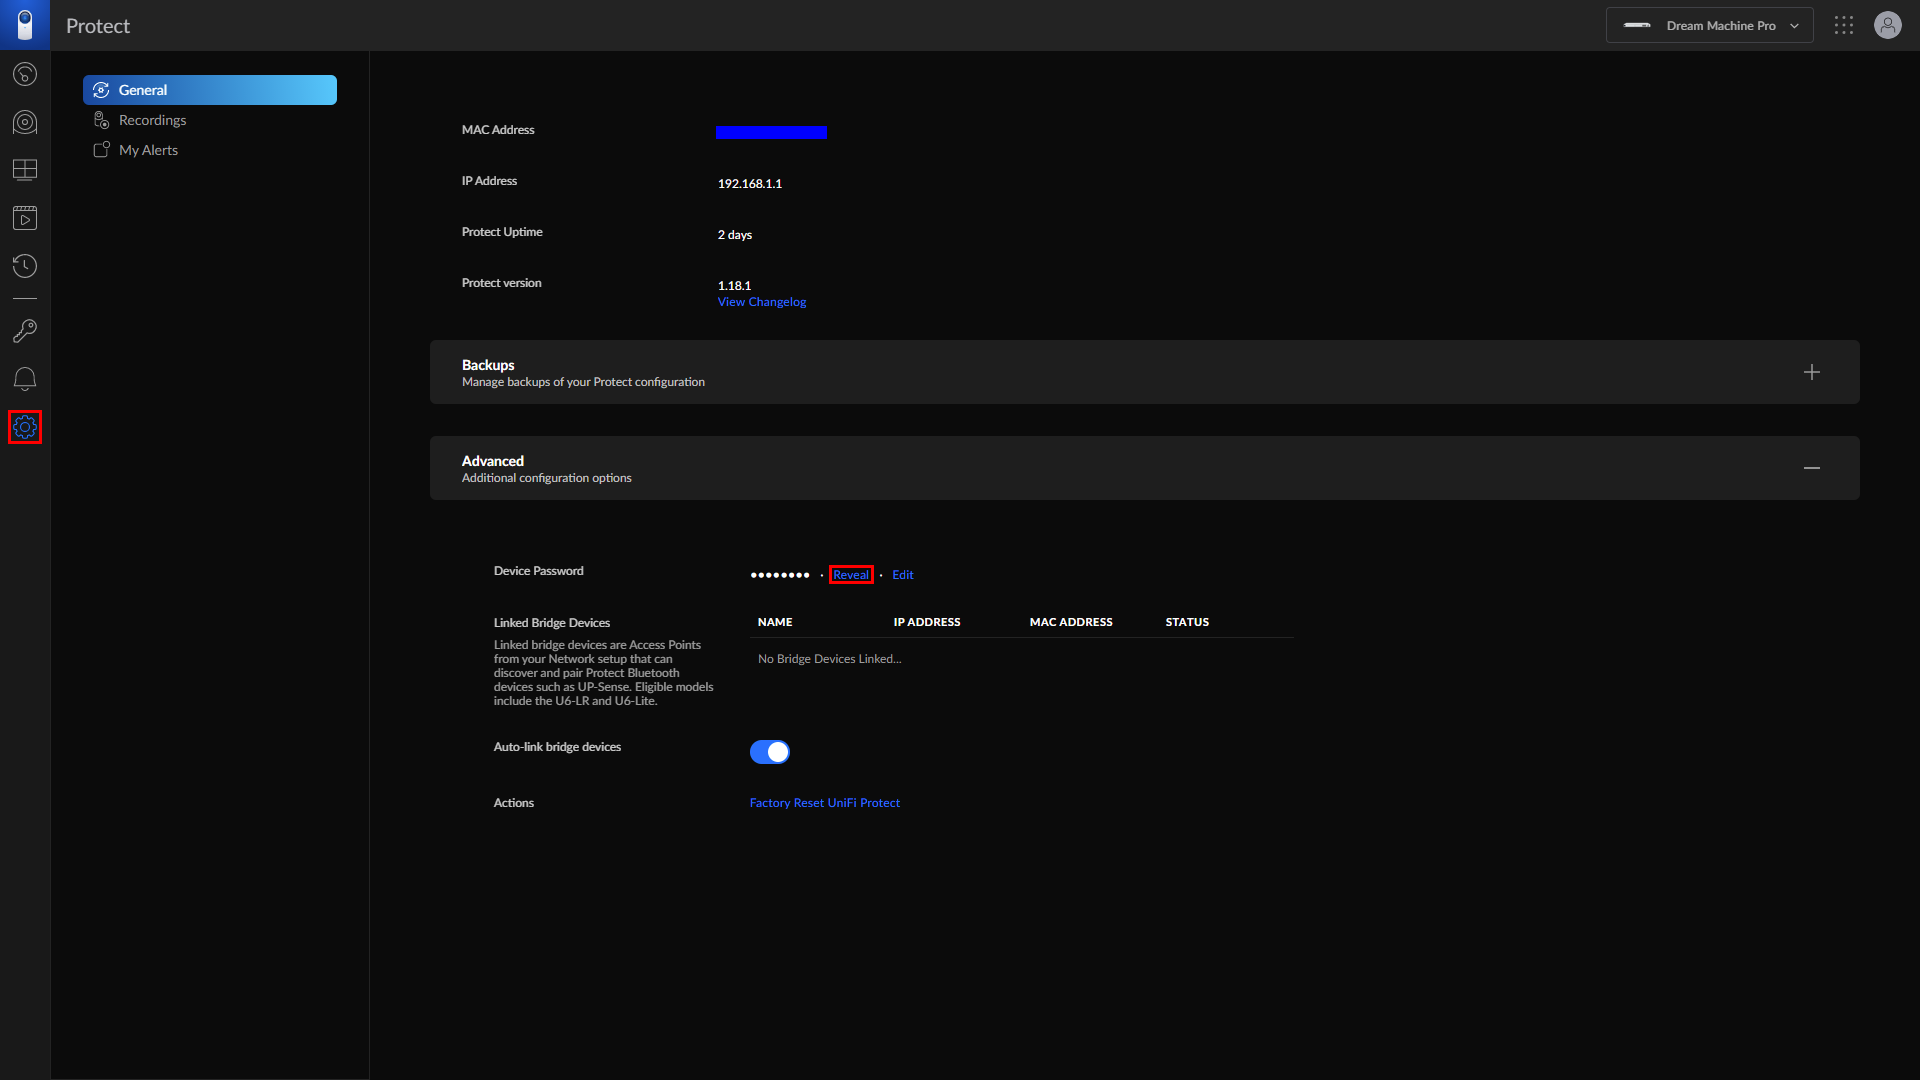
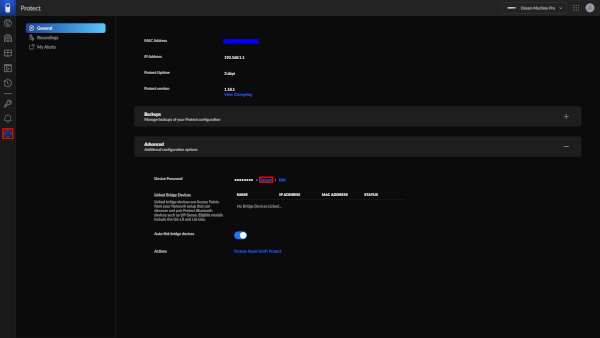
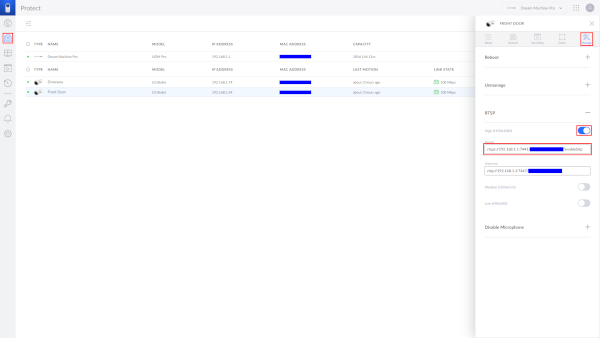
- Go to settings on the left then find Device Password in the Advanced section. Press reveal and copy it.
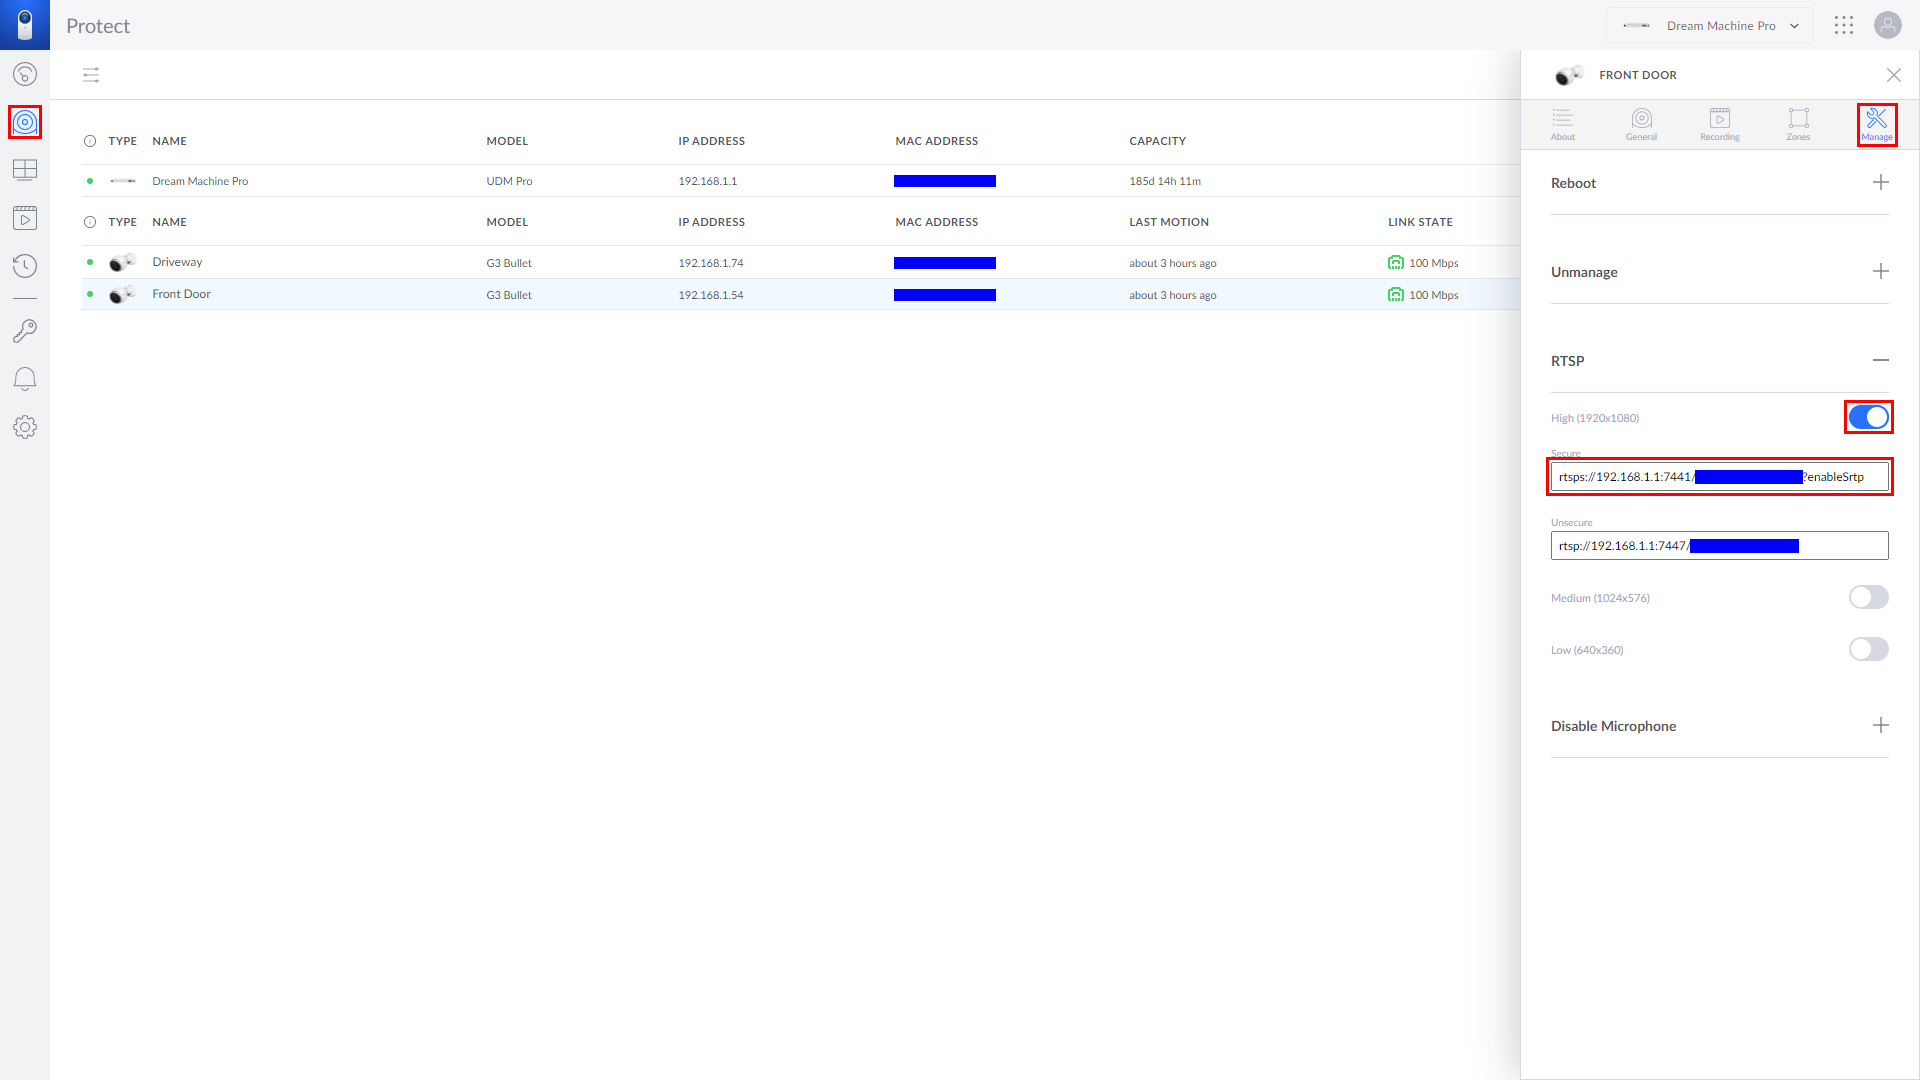
- Go to the devices section on the left. Find the camera you want to use and open the settings by clicking on it in the list. Go to the Manage tab. Under the RTSP section enable the resolution of your choosing. Copy down the Secure URL somewhere, you'll need it for Home Assistant.
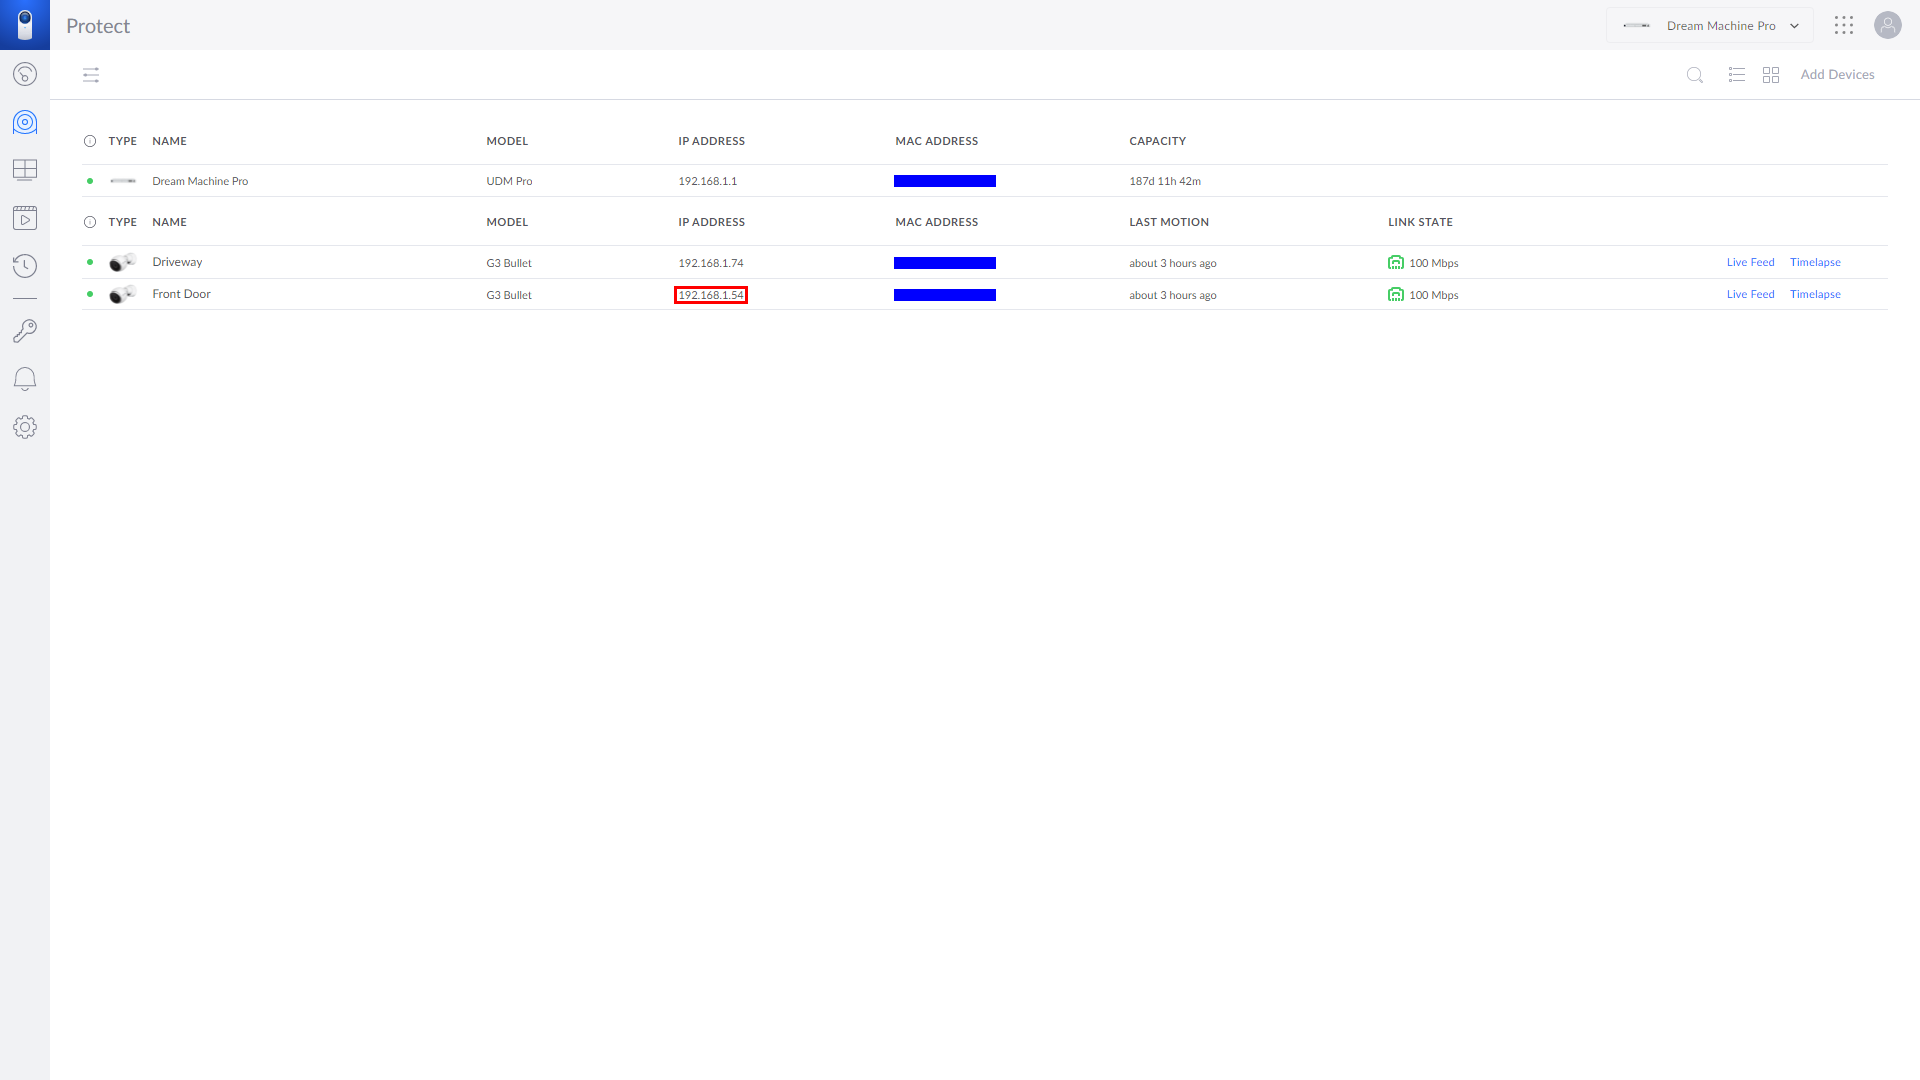
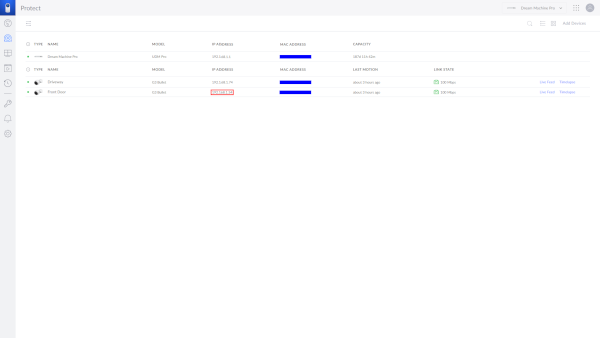
- In the list of devices find the IP address of the camera and navigate to it in a new tab.
- Log into the camera. The username is
ubnt and the password is the Device Password you copied in step 2.

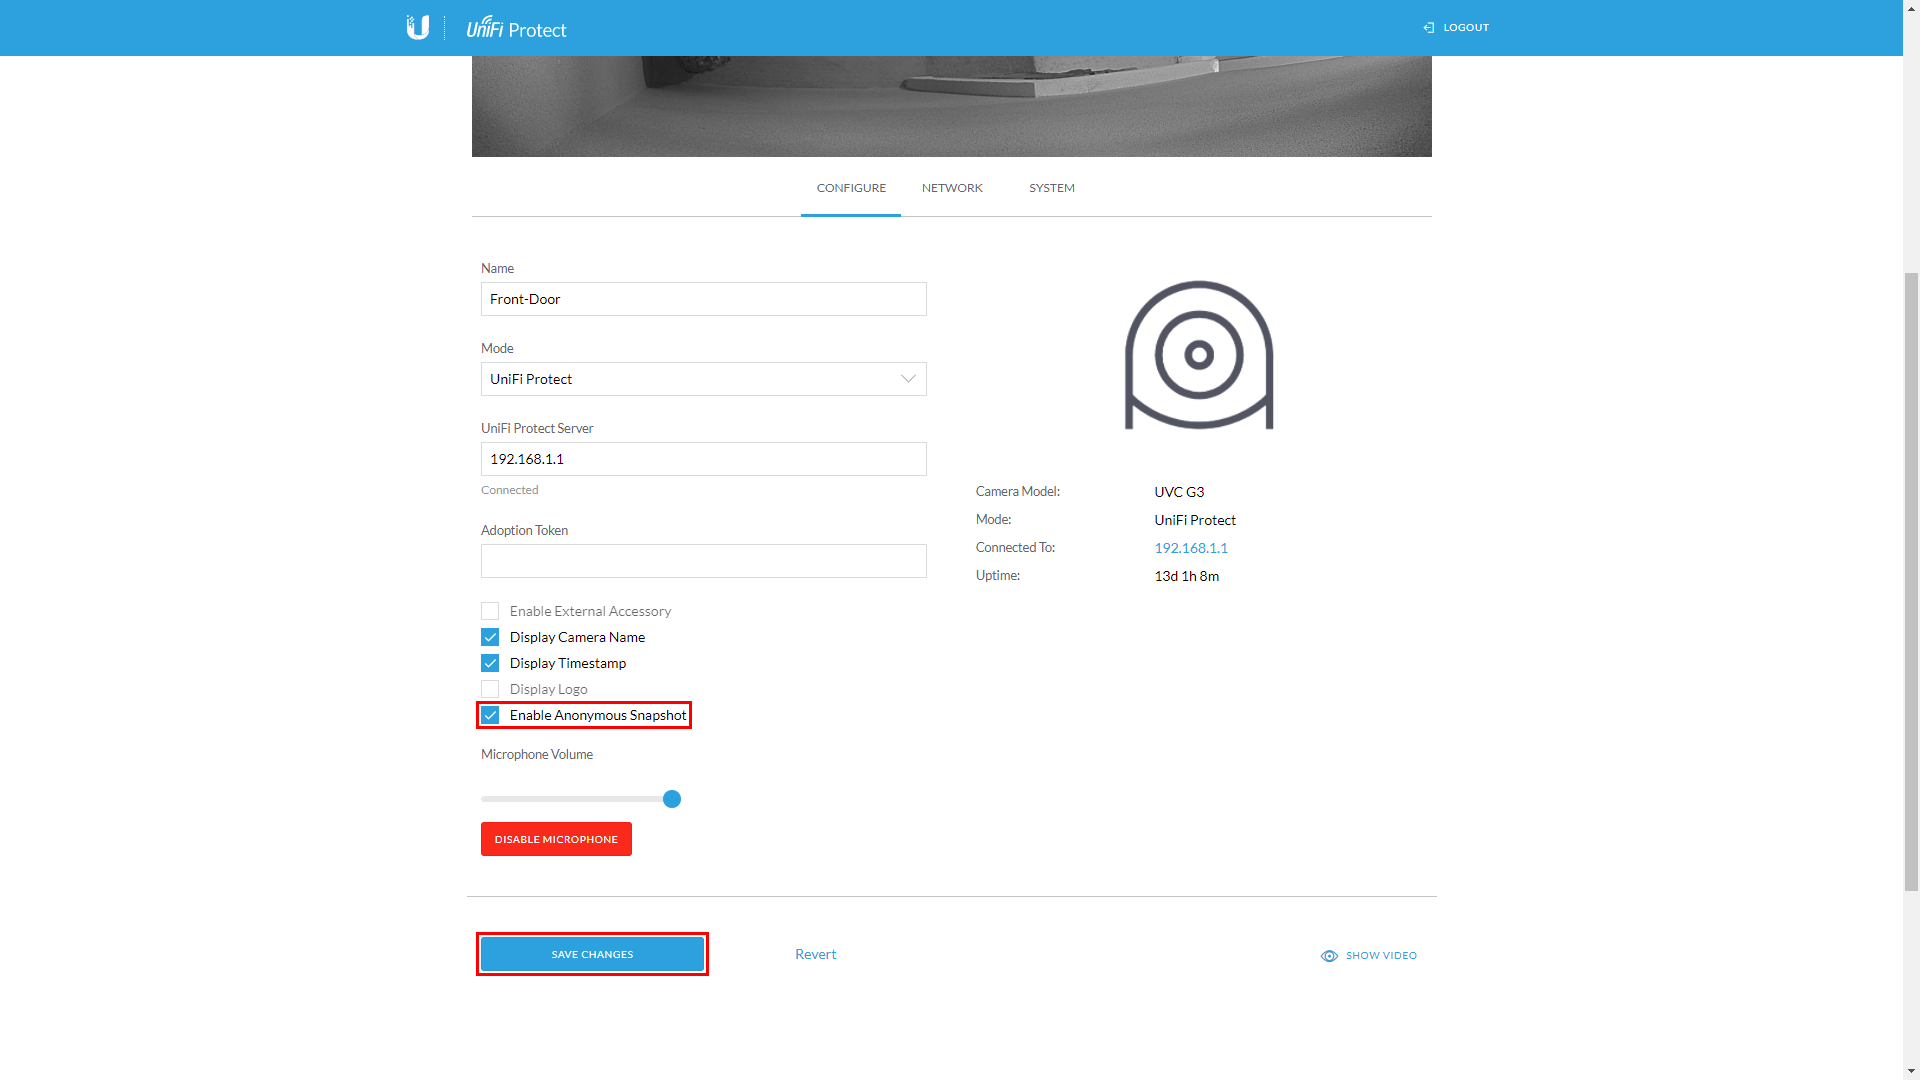
- Scroll down a little if necessary, then check Enable Anonymous Snapshot. Press Save Changes.
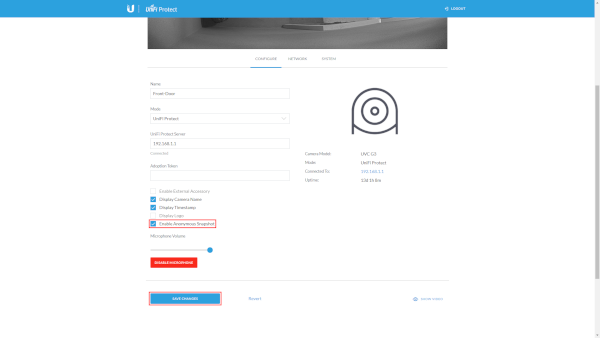
- Go to
https://camera_IP_address/snap.jpeg to verify functionality. Copy this address down somewhere, you'll need it for Home Assistant.
- Next we will edit the Home Assistant
configuration.yaml file. I use the file editor add on, but you may edit the file however you wish. Add this to the bottom of your configuration file making sure to replace the placeholders with the information you wrote down earlier:
camera:
  - platform: generic
    name: Camera Name
    still_image_url: http://camera_IP_address/snap.jpeg
    stream_source: secure_RTSP_URL
- Save the file then go to Supervisor > System and press Restart Core to apply the changes.
Congratulations, you're done!
"But wait!", I hear you say, "How do I add this to my Lovelace dashboard?" Great question! The best solution I've found so far uses a picture glance card with entities left empty. Create a new picture glance card then press Show Code Editor and configure it like so:
type: picture-glance
entities: []
camera_image: camera.camera_name
camera_view: live
You can also add a title if you want to have the camera name displayed over the stream. If you don't want a title there will still be a thin bar across the bottom of the feed, as far as I can tell there's no way to get rid of it entirely.